
How to Create a Stunning Wedding Photo Canvas Print
Ever flipped through a wedding album and felt that rush of joy, like the day is happening all over again?
We’ve all got that one photo where the smiles are genuine, the light is perfect, and you can almost hear the vows echoing. What if you could turn that moment into something you could actually touch?
A wedding photo canvas print does exactly that – it takes the magic of your favorite shot and stretches it across a textured surface that feels as warm as the memory itself.
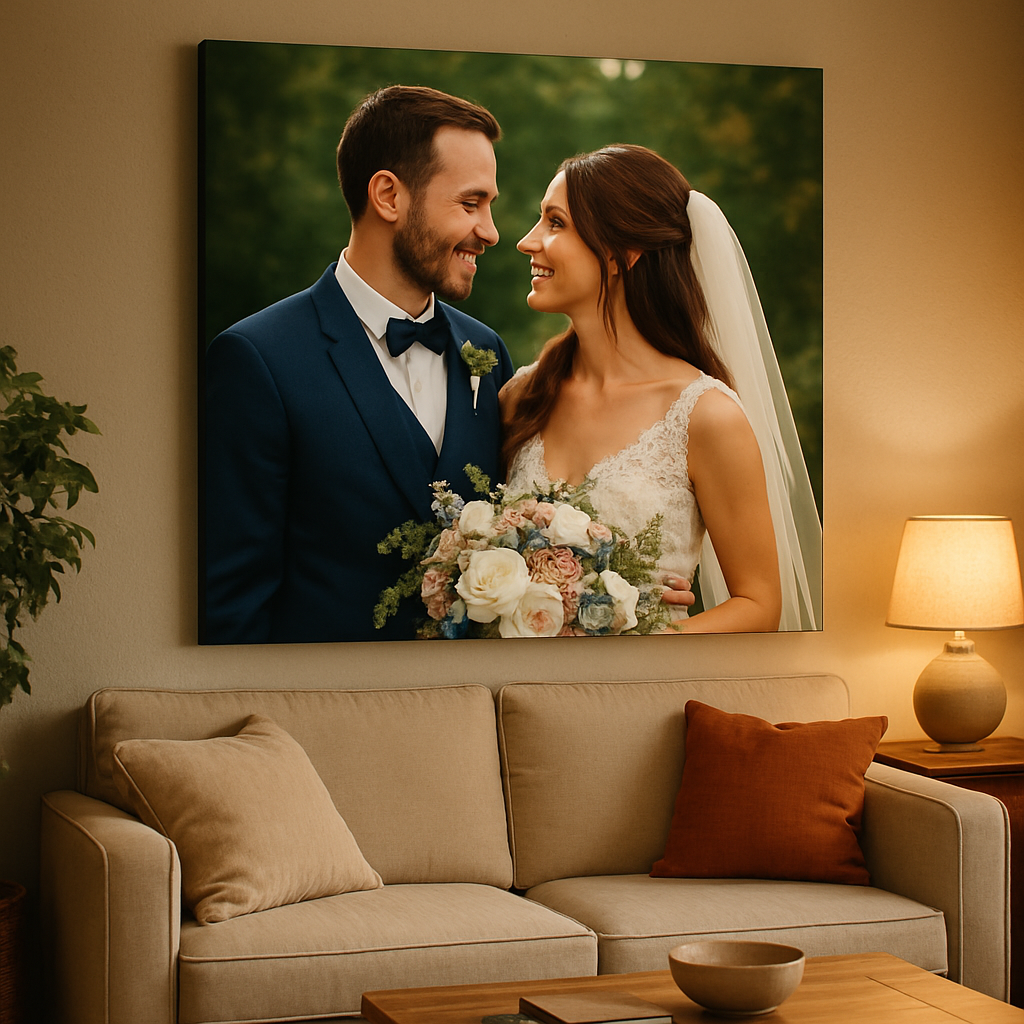
Imagine walking into your living room and being greeted by a large, vivid canvas of the first dance. It’s not just décor; it’s a daily reminder that love isn’t just a feeling, it’s a visual story you get to live with.
But how do you choose the right size? Do you go big and bold for the hallway, or keep it intimate for the bedroom? The truth is, there’s no one‑size‑fits‑all answer – it depends on the space you want to celebrate and how much of the photo you want to showcase.
One of the best parts about a wedding photo canvas print is the ability to personalize it. You can add a subtle border, include the wedding date in a corner, or even layer a short quote that captures the essence of your day.
And let’s not forget the gifting potential. A canvas makes a heartfelt present for parents, grandparents, or even a dear friend who helped plan the big day. It’s a keepsake that says, “I remember every detail, and I cherish it.”
So, what’s the next step? Start by picking that one photo that makes your heart skip a beat, think about where it will live in your home, and let a trusted print‑on‑demand service bring it to life.
When you hang that wedding photo canvas print, you’re not just adding art to a wall – you’re framing a moment that will keep smiling back at you for years to come.
TL;DR
A wedding photo canvas print transforms your favorite shot into a tangible piece of art you can hang, gift, and revisit daily together.
Pick the perfect size, add a subtle border or vow quote, and let heartful.gifts’ print‑on‑demand service deliver a canvas that celebrates your love forever daily together.
Step 1: Choose the Perfect Wedding Photo
Okay, you’ve already decided a canvas is the way to keep that magical moment alive. Now comes the fun part: hunting down the single photo that will become the centerpiece of your home.
Think back to the moment that still makes your heart flutter when you close your eyes. Maybe it’s the first kiss under the chandelier, the laughter during the bouquet toss, or that quiet glance during the vows. That instant is your gold mine.
What to Look for in a Photo
Start by asking yourself three quick questions: Is the lighting soft enough to feel warm? Does the composition leave some breathing room around the faces? And, most importantly, does the emotion jump out at you?
If you’re nodding, you’re on the right track. A photo with harsh shadows or a crowded background will lose its impact once it’s stretched onto a large canvas.
Test the Mood
Open the image on your computer or phone and set it as a temporary wallpaper. Walk around the room where you plan to hang the canvas. Does the smile still feel genuine after a few minutes? If you catch yourself smiling too, you’ve found a winner.
Don’t be afraid to involve a trusted friend or family member. Sometimes a fresh pair of eyes spots a distracting element you’ve become blind to.
Check Resolution and Size
Most modern wedding photographers deliver high‑resolution JPEGs or RAW files. Aim for at least 300 dpi at the final canvas size you want. A quick rule of thumb: multiply the intended width in inches by 300 – that’s the minimum pixel width you need.
For example, a 24‑inch wide canvas needs roughly 7200 pixels across. If your file falls short, consider a slightly smaller size or ask the photographer for a higher‑resolution version.
Consider Placement and Orientation
Look at the room where the canvas will live. A vertical portrait works beautifully above a mantel, while a wide‑angle shot fills a hallway nicely. Visualize the frame’s edges – you don’t want a crucial detail chopped off.
Pro tip: print a cheap, small‑scale test on regular paper first. Tape it to the wall and step back. If the composition still feels balanced, you’re good to go.
- Pick a photo that captures genuine emotion.
- Make sure lighting is soft and background isn’t cluttered.
- Verify the file meets at least 300 dpi for your chosen size.
- Match orientation to the intended wall space.
- Do a quick paper mock‑up before ordering.
Once you’ve checked those boxes, it’s time to send the file to a trusted print‑on‑demand partner. Our own custom wedding photo canvas service handles the sizing, stretching, and quality control so you can focus on the joy of seeing your memory on the wall.
Take a deep breath, pick that photo, and let the canvas do the rest. In the next step we’ll walk through sizing options and framing choices so you can fine‑tune the final look.
Remember, the canvas will become a daily reminder of your love story, so choose a shot that still makes you smile years from now. Trust your gut, and don’t overthink it – the perfect photo is the one that feels right in your heart.
Step 2: Select Canvas Size and Orientation
Okay, you’ve found the perfect shot, now it’s time to decide how big it should be and which way it should face the wall. This choice feels huge because the canvas will become a daily reminder of your wedding day.
Measure the space before you measure the photo
First, step back from the wall where you plan to hang the piece. Grab a tape measure, a pencil, and some painter’s tape. A quick rule of thumb is to let the canvas cover about two‑thirds of the width of the furniture underneath – a sofa, a headboard, or a console. If your couch is 84 inches wide, aim for a canvas roughly 55‑60 inches wide. This keeps the art from looking lost or overpowering.
Want a visual cheat? Stick strips of painter’s tape on the wall in the dimensions you’re considering. Walk around the room and see how the “ghost” rectangle feels. Does it leave breathing room? Does it dominate the space?
Match the canvas shape to your photo
Not every wedding photo is a classic 3:2 landscape. Some are tall portrait shots of the ceremony aisle, others are square close‑ups of the first kiss. Choose a canvas size that mirrors the aspect ratio of the image, so you don’t have to crop out important details. If your photo is 4:5 portrait, a 16×20 inch canvas (which is also 4:5) will preserve every tear‑glint and flower detail.
When the photo is a quirky square – think of those Instagram‑style snaps of the cake – a 20×20 or 24×24 canvas can turn the image into a bold, gallery‑ready statement.
Orientation: horizontal vs. vertical
Horizontal (landscape) canvases work beautifully above a mantle or a wide sofa. They echo the sweep of a venue’s ballroom or a sunset backdrop. Vertical (portrait) canvases fit nicely between two windows, next to a standing lamp, or on a narrow hallway wall.
Here’s a quick test: Hold the printed photo in both orientations against the wall. Which way feels more natural? Which orientation lets you add a short vow quote or a date without crowding the composition?
Real‑world examples
Emily and Jake loved a candid portrait of their grandparents dancing. The shot was tall, so they chose a 20×30 inch vertical canvas. The height allowed the couple’s smiles to fill the space while leaving room for a tiny “Forever & Always” text strip at the bottom.
Sam and Maya’s black‑and‑white vows reading was a perfect square. They went with a 24×24 inch canvas and placed it on a hallway that already had narrow sidewalls. The square shape created a rhythm that echoed the rhythmic cadence of the vows themselves.
Actionable checklist
- Measure the wall and the furniture underneath.
- Mark the desired width with painter’s tape (≈ 2/3 of furniture width).
- Identify your photo’s aspect ratio (landscape, portrait, square).
- Pick a canvas size that matches that ratio (e.g., 16×20 for 4:5 portrait).
- Decide orientation based on wall shape and surrounding décor.
- Use the design tool on heartful.gifts to preview size, border, and optional text.
Pro tip from the pros
Many designers recommend adding a thin border—white or black—especially when the canvas is large. The border acts like a frame without the extra cost, and it gives you a clean line for a subtle date stamp. Also, if you’re unsure about the final look, order a small 8×8 inch proof first. It’s cheap, and it tells you whether the colors pop the way you expect.
Finally, remember that the canvas isn’t just a picture; it’s a piece of décor that will live with you for years. Take a moment to visualize how it will feel each time you walk into the room. When you’re ready, head over to design and hang custom photo canvas wall art guide for a step‑by‑step walkthrough of uploading, positioning, and hanging your new wedding photo canvas print.
Step 3: Edit and Enhance Your Photo for Canvas Print
Now that you’ve picked the perfect shot and settled on a size, it’s time to give that image a little polish so it looks its best once it’s wrapped around the canvas.
Why a quick edit makes a huge difference
Even a gorgeous wedding photo can look flat on canvas if the exposure is off or the colors are muted. A few adjustments—brightness, contrast, and a touch of sharpening—help the image “breathe” against the texture of the fabric. Think of it like a little makeup session for your photo; you’re not changing who you are, just letting the best features shine.
Step‑by‑step editing checklist
Grab your favorite editing tool (Photoshop, Lightroom, or a free online editor) and follow this simple flow.
1. Check resolution. Canvas prints typically need 100‑150 DPI at the final size. For a 20×30 inch canvas, aim for at least 2,000 × 3,000 pixels. If your file falls short, consider up‑sampling with a smart‑resize algorithm or ask the printer if they offer a “enhance” service. Understanding the resolution sweet spot can prevent blurry results.
2. Crop with intent. Keep the main subjects centered and leave a little breathing room around the edges—this is where a thin border or a vow quote will sit later. Use the rule of thirds to place eyes or the bouquet in a strong visual spot.
3. Balance exposure. Slide the highlights up just enough to bring out details in the bride’s veil, then pull down shadows so the groom’s suit doesn’t disappear. Aim for a natural look; you want the canvas to feel like you’re looking at the moment, not a Photoshop experiment.
4. Boost color gently. Increase saturation by 5‑10 % if the greens look dull, or add a warm tint to emphasize golden hour lighting. Avoid over‑saturation—canvas texture already adds a subtle softness.
5. Sharpen for texture. Apply a light “output sharpening” (around 30‑50 % strength) that compensates for the canvas weave. Too much sharpening creates halos around edges, especially on faces.
6. Remove distractions. Use a clone or healing brush to erase stray hairs, dust specks, or unwanted background objects. A clean background lets the couple’s emotions take center stage.
7. Save a proof. Export a high‑quality JPEG or PNG at the exact pixel dimensions you’ll print. Most services, including heartful.gifts, let you upload the file and preview a digital mock‑up.
Real‑world examples
Emily and Jake uploaded a candid shot of their grandparents dancing. The original file was a bit dark, so they lifted the midtones by +12 and added a subtle 8 % saturation boost to the reds in the dress. After a quick 40 % output sharpen, the canvas captured the sparkle of the chandelier and the couple’s smiles looked lively, even from across the room.
Sam and Maya chose a black‑and‑white portrait of the vow reading. They converted the image to grayscale, increased contrast by +15, and applied a gentle vignette to draw the eye to the hands holding the script. The final canvas felt like a vintage gallery piece, and the texture of the canvas added just the right amount of grain.
Does this sound like a lot? Not really—most of these tweaks take under five minutes once you get the hang of the sliders.
Pro tips from the pros
Use the same color profile. If your editor defaults to sRGB, stick with it; most canvas printers expect sRGB and will convert to their internal CMYK without surprise shifts.
Test on a small print first. Order an 8×8 inch proof on regular paper. Hold it up next to your wall and see if the colors still pop. If they look flat, go back and adjust before committing to a large canvas.
Consider a subtle border. A 1‑pixel white or black edge can act as a frame and give you a clean line for a date stamp or short quote later on.
Mind the lighting where it will hang. If the room gets strong afternoon sun, choose a matte finish to reduce glare; a glossy finish works better in dimmer spaces.
Once you’ve polished the image, simply upload it to heartful.gifts’ design tool, confirm the size, add any optional text, and hit “order.” In a couple of days, you’ll have a ready‑to‑hang wedding photo canvas print that looks just as vibrant as the memory itself.
Step 4: Pick Materials and Finishes
Now that you’ve sized and edited the perfect shot, the next decision feels a bit like choosing a wedding dress fabric – it sets the mood for the whole memory. Do you want a soft, painterly feel that whispers romance, or a sleek, high‑gloss look that shouts celebration? Your choice of material and finish will shape how the canvas ages, how it reacts to light, and even how often you’ll need to dust it.
Let’s break it down together, so you can walk away with a clear plan instead of a vague feeling of “maybe this or that.”
1. Canvas material – what’s under the paint?
Most wedding photo canvas prints use a poly‑cotton blend. The cotton gives the fabric that classic, slightly textured weave, while the polyester adds durability and resistance to moisture. This combo is what heartful.gifts calls an “acid‑free, heavyweight” canvas, and it means the image won’t yellow after a few years of sunlight.
If you love a ultra‑smooth surface, you can opt for a matte‑finished canvas. It reduces glare, making the photo easier to view in bright rooms, and it also hides fingerprints a bit better. For a more gallery‑like vibe, a satin‑finish adds a subtle sheen without the mirror‑like reflection of a glossy coat.
Real‑world example: Jenna and Luis hung a 24×36 matte canvas of their first kiss in a sun‑filled hallway. The matte surface kept the whites of their dress from blowing out under the morning light, and the texture gave the image a soft, timeless quality.
2. Edge options – framing the story
Canvas edges come in three main styles: raw (the fabric exposed), mirrored, and colored. A raw edge looks casual and modern, but dust can settle in the weave. Mirrored edges use a thin strip of white or black canvas that wraps around the back, giving a clean line that mimics a traditional frame without the extra cost. Colored edges let you match the border to a room’s accent colour – think a dusty blue trim for a coastal‑themed living room.
Pro tip: If you plan to add a short vow quote at the bottom, a thin white edge creates a natural “margin” where text won’t compete with the photo itself.
3. Finish – matte, glossy, or something in between?
Glossy finishes make colors pop like they’re lit from behind. They’re great for vibrant sunset shots or images with bold reds and golds. The downside? They reflect light, so a glossy canvas in a room with large windows can create glare that hides details.
Matte finishes, on the other hand, mute reflections and bring out texture. They’re ideal for black‑and‑white vows or softer pastel scenes. Satin finishes sit in the middle, offering a slight glow without the full glare of gloss.
Example: Marcus and Priya chose a glossy finish for their fireworks photo taken at midnight. The glossy coat amplified the bright bursts, turning the canvas into a mini‑fireworks show on their dining wall.
4. How to decide – a quick checklist
- Assess the lighting in the room where the canvas will hang. Bright, sunny spaces = matte or satin; dim, cozy rooms = glossy.
- Consider the photo’s colour palette. High‑contrast or vibrant images often benefit from glossy; softer tones look better matte.
- Think about durability. If the canvas will be in a high‑traffic area (like a hallway), matte or satin hides fingerprints and dust better.
- Decide on edge style. Want a clean, frame‑like look? Choose mirrored or colored edges. Going for a minimalist vibe? Raw edges work.
- Plan for any text overlay. A thin white edge gives you a built‑in “text line” for dates or vows.
Take a moment to write down your answers, then match them to the table below.
| Feature | Option | Best For |
|---|---|---|
| Canvas material | Poly‑cotton blend (matte) | Long‑term colour stability, low glare rooms |
| Edge style | Mirrored white or black | Clean frame look, space for text |
| Finish | Glossy | Vibrant, high‑contrast photos, dim lighting |
| Finish | Matte | Soft tones, bright rooms, high‑traffic areas |
| Finish | Satin | Balanced sheen, mixed lighting |
So, what should you do next? Grab the photo on your screen, imagine the wall, and walk through the checklist. Then, log into heartful.gifts’ design tool, select the material, pick your edge, and choose the finish that feels right for the moment you’re preserving.
One last thing: order a small proof print on regular paper before you lock in the final canvas. Hold it up next to the wall, look at it in the room’s natural light, and ask yourself if the texture and finish still feel true to the memory. If something feels off, tweak the finish or edge and try again – it’s totally worth the extra minute.
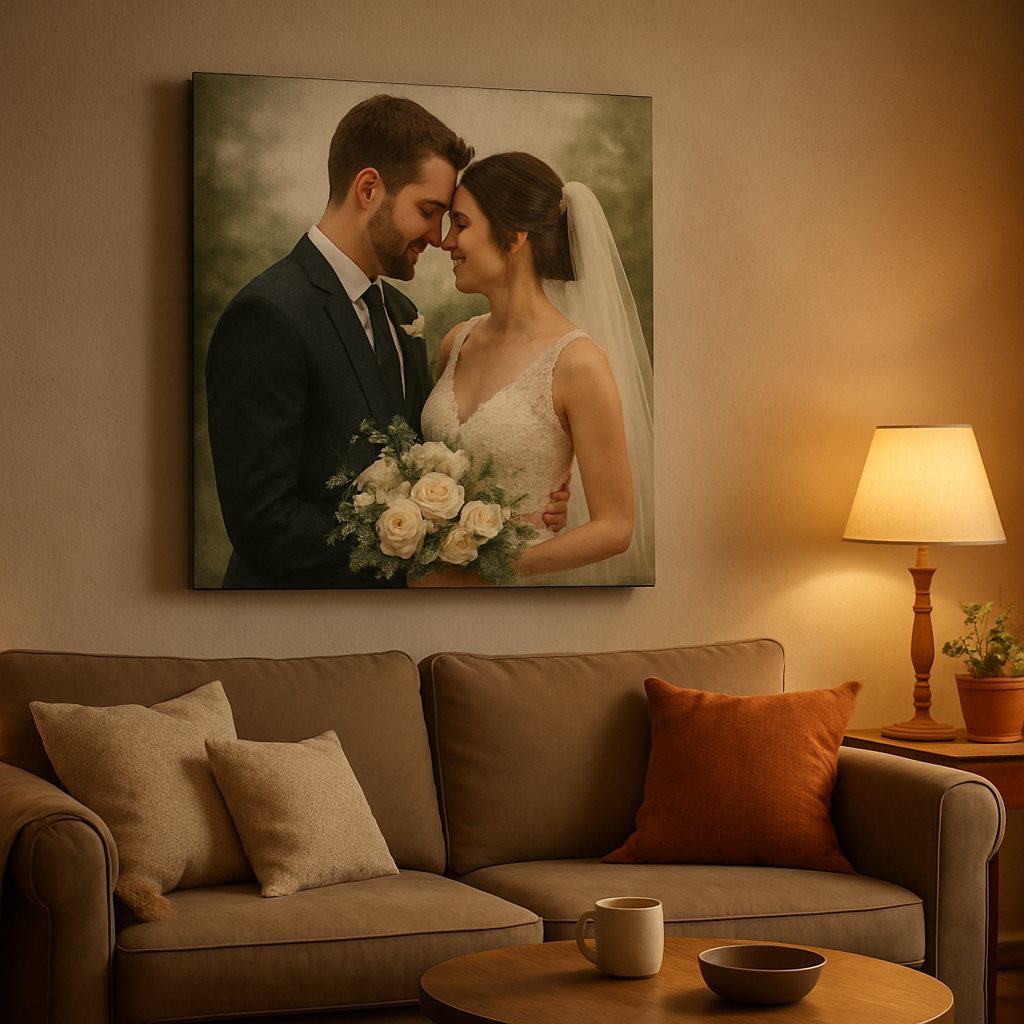
When you finally unbox that wedding photo canvas print, you’ll notice the subtle texture under your fingertips and the way the finish catches (or doesn’t catch) the light. That tactile connection is the secret sauce that turns a flat photo into a cherished piece of home décor.
Step 5: Order and Care for Your Wedding Photo Canvas Print
Double‑check the final proof
Before you hit "order," pull up the digital mock‑up one last time. Look at the edges, the border, the tiny vow quote you added – does anything feel cramped? If a word is flirting with the edge, drag it a few pixels inward. A quick zoom to 100 % on your screen mimics the actual canvas texture and helps you spot any stray pixels that might turn into a noticeable speck later.
Pro tip: compare the mock‑up with the 8×8‑inch paper proof you printed earlier. Hold them side‑by‑side in the room’s natural light; if the colors still pop and the composition feels balanced, you’re good to go.
Pick the right shipping option
Most print‑on‑demand services, including heartful.gifts, offer standard and expedited shipping. If the canvas is heading to a wedding‑anniversary brunch next month, choose the faster route. Otherwise, standard shipping usually arrives in 5‑7 business days and saves a few bucks.
When you place the order, make sure the address fields are exact – a missing apartment number can send a gorgeous canvas to the wrong door, and nobody wants to explain why a canvas is stuck in a neighbor’s hallway.
Unboxing and first‑look checklist
When the box arrives, open it on a clean, flat surface. Gently peel away the protective paper – you’ll see the canvas already stretched over a sturdy wood frame. Check these items:
- All corners are snug; there’s no sagging.
- The edge finish (mirrored, raw, or colored) matches what you selected.
- The image is centered and there’s no noticeable shift.
- No dust or smudges on the surface.
If anything looks off, photograph the issue and contact customer support within 48 hours. Most services will send a replacement at no extra cost.
How to hang it right the first time
Start by measuring the distance from floor to the center of the canvas – a good rule of thumb is to place the center at eye level, roughly 57‑60 inches from the floor for most people. Use two picture‑hanging hooks instead of a single nail; this distributes weight and reduces the chance of the frame tilting.
For heavy canvases (over 30 inches wide), consider a wall‑anchor or a French cleat system. It sounds fancy, but it’s basically a sturdy L‑shaped bracket that hides behind the canvas while holding it securely.
Daily care routine
Canvas isn’t glass, so you won’t need a glass cleaner, but you do want to keep dust at bay. A soft, lint‑free microfiber cloth brushed lightly across the surface does the trick. If you notice a stubborn fingerprint, dampen the cloth with a tiny splash of distilled water and wipe gently – never spray liquid directly on the canvas.
Avoid harsh chemicals, ammonia‑based cleaners, or abrasive sponges. Those can break down the acrylic inks that give your wedding photo its vivid colors.
Long‑term maintenance tips
Sunlight is both a friend and a foe. A little natural light brings out the texture, but prolonged direct sun can fade the inks over years. If your canvas sits near a window, use a sheer curtain to filter the light or rotate the piece every few months.
Humidity matters, too. In damp climates, a dehumidifier in the room helps prevent the canvas from absorbing moisture, which could cause the fabric to stretch or warp.
Real‑world examples
Emily and Jake ordered a 24×36 inch matte canvas of their grandparents’ first dance. After unboxing, they hung it above the sofa using two hooks and a level. Six months later, they’ve kept it looking fresh by dusting weekly and rotating it when they added a new family photo on the opposite wall.
Sam and Maya chose a glossy 20×30 inch canvas of their fireworks celebration. Because it lives in a dim dining room, glare isn’t an issue. They protect it from occasional splashes by placing a clear acrylic coat on the wall – a thin, UV‑protective sheet that’s easy to wipe down.
Quick order‑and‑care checklist
- Review the final digital proof; adjust any cramped text.
- Print a small paper proof and compare in room lighting.
- Select shipping speed based on your timeline.
- Inspect the canvas on arrival for sagging, edge mismatches, or dust.
- Hang using two hooks or a French cleat; keep the center at eye level.
- Dust weekly with a microfiber cloth; spot‑clean with distilled water if needed.
- Shield from direct sunlight and control humidity for long‑term vibrancy.
Following these steps means your wedding photo canvas print won’t just look amazing on day one – it’ll stay a cherished part of your home for years to come.
For a deeper dive into why high‑quality canvas prints hold up so well, Printique explains their museum‑grade inks and durable poly‑cotton blend, which aligns with the standards heartful.gifts uses for its own canvas line.
Conclusion
We've walked through everything you need to turn a favorite wedding shot into a stunning wedding photo canvas print, from picking the perfect moment to caring for the finished piece.
Remember, the magic starts with an emotion‑filled photo – the one that makes you grin or tear up when you see it. Choose a size that fits the wall, edit just enough to let the colors breathe, and pick a finish that matches the room's light.
When you order, double‑check the proof, pick a shipping speed that fits your timeline, and inspect the canvas as soon as it arrives. A quick dust‑off and proper hanging at eye level will keep the image looking fresh for years.
What’s the biggest payoff? Every time you walk past the canvas you’ll be reminded of that exact moment you said “I do,” without having to scroll through a phone album.
So, what should you do next? Grab that one photo that still makes your heart skip, head to heartful.gifts, and let their design tool guide you through the final steps.
Even if you’ve never bought art online, the process is as easy as ordering a photo book – just a few clicks, a short proof, and then the moment your canvas arrives, unbox, hang, and enjoy.
And don’t forget the little maintenance habits: a microfiber cloth weekly, a spot‑clean with distilled water when needed, and keep it out of direct sunlight.
In short, a wedding photo canvas print isn’t just décor; it’s a living memory you’ll share with guests, kids, and future generations.
Ready to make that memory tangible? Your walls are waiting.
FAQ
Here are some of the real‑world questions people ask when they’re ready to turn that favorite wedding snap into a lasting wedding photo canvas print. If you’ve been wondering about size, finish, or care, you’re in the right place.
How do I choose the best wedding photo for a canvas print?
Start by hunting for the moment that makes your heart flutter – maybe the first kiss, the laugh during the first dance, or the tear‑glint when you said “I do.” Open the file on a large screen, zoom in, and check that faces are sharp and lighting is even. Aim for at least 300 dpi; if it looks pixelated on your laptop, it will look worse when stretched across a wall.
What size canvas works best for a typical living‑room wall?
Measure the furniture the art will sit above and mark about two‑thirds of that width with painter’s tape. For a standard three‑seat sofa (around 84 inches wide), a 55‑60 inch canvas usually feels balanced – big enough to be a focal point but not so massive that it overwhelms the room. Keep the aspect ratio of your photo in mind; a landscape shot pairs nicely with 24×36 inches, while a portrait works well at 20×30 inches.
Can I add my vows or a date to the canvas, and how?
Absolutely. Most design tools, including heartful.gifts’, let you place a short line of text in a thin border or a dedicated caption area. Choose a simple sans‑serif font, keep the text under 20 characters, and align it to the bottom edge so it doesn’t compete with the image. A white or black mirrored edge creates a natural “margin” for the words, making them look like part of the artwork.
What finishes protect the image from glare in a sunny room?
If the wall gets a lot of direct light, a matte or satin finish is your safest bet – they mute reflections and hide fingerprints. Glossy finishes pop vibrant colors but will create glare on sunny afternoons, which can wash out detail. Think about the room’s lighting: bright, sun‑filled spaces → matte or satin; dimmer, ambient rooms → glossy if you want that extra sparkle.
How long does it take to receive a custom wedding photo canvas print?
Standard production usually runs 3‑5 business days, then you add the shipping window. With most print‑on‑demand services, you can expect a total of 5‑7 days for standard shipping and 2‑3 days if you opt for expedited. If you need the canvas for a specific date – like an anniversary brunch – it’s worth selecting the faster shipping tier at checkout.
What’s the best way to hang and level a canvas so it looks professional?
First, find the eye‑level sweet spot – most people view art comfortably at 57‑60 inches from the floor. Use two picture‑hanging hooks instead of a single nail; this spreads the weight and prevents tilt. For canvases over 30 inches wide, a French cleat or wall anchor gives extra security. A quick level check with a small bubble level saves you from a crooked masterpiece.
How should I care for my canvas to keep colors vibrant for years?
Dust it weekly with a soft microfiber cloth; that’s all you need most of the time. If a fingerprint shows up, dampen the cloth with a tiny splash of distilled water and wipe gently – never spray liquid directly on the canvas. Keep the piece out of prolonged direct sunlight, or use sheer curtains to filter the light. In humid climates, a dehumidifier helps prevent the fabric from stretching or warping.