
How to Create a Personalized Photo T Shirt That Looks Great
Ever looked at a plain tee and thought, “I wish I could wear that memory instead”?
Maybe it was a goofy family photo from last summer, or the snap of your kid’s first soccer goal, or even that epic concert shot where the lights were just right.
That moment of “what if I could turn this picture into something I actually wear” is exactly why personalized photo t shirt has become a go‑to gift for so many of us.
We’ve all been there—scrolling through endless options, wondering if the print will look blurry or if the shirt will shrink after the first wash.
Here’s what I mean: a good personalized photo t shirt takes your favorite image, prints it on a soft, breathable cotton canvas, and lets you walk around feeling both comfy and nostalgic.
And the best part? You don’t need any design skills. Just upload the photo, pick a size, and the print‑on‑demand magic handles the rest.
Think about the smile on your partner’s face when you surprise them with a shirt that shows the exact moment you proposed, or the giggle from your little one when they see their doodle turned into wearable art.
It’s more than a piece of clothing—it’s a story you can literally wrap around yourself.
But you might wonder, does it actually hold up? Most quality services use high‑resolution inks that resist fading, and a double‑stitched hem that survives everyday wear.
If you’re still skeptical, picture this: you’re at a family BBQ, and someone asks where you got that cool shirt. You point to the photo, and suddenly you’re the storyteller of the day.
That’s the power of a personalized photo t shirt: it turns a fleeting snap into a lasting conversation starter.
Ready to turn those favorite moments into something you can actually wear? Let’s dive in and explore how to pick the perfect photo, choose the right fit, and keep the print looking fresh for years.
TL;DR
A personalized photo t shirt lets you wear your favorite memories—like a wedding snap or kid’s first goal—in soft, durable cotton that stays vibrant wash after wash.
Choose the right image, pick a fit, and follow simple care tips to keep your custom tee looking fresh for many years today.
Step 1: Choose Your Photo and Design Layout
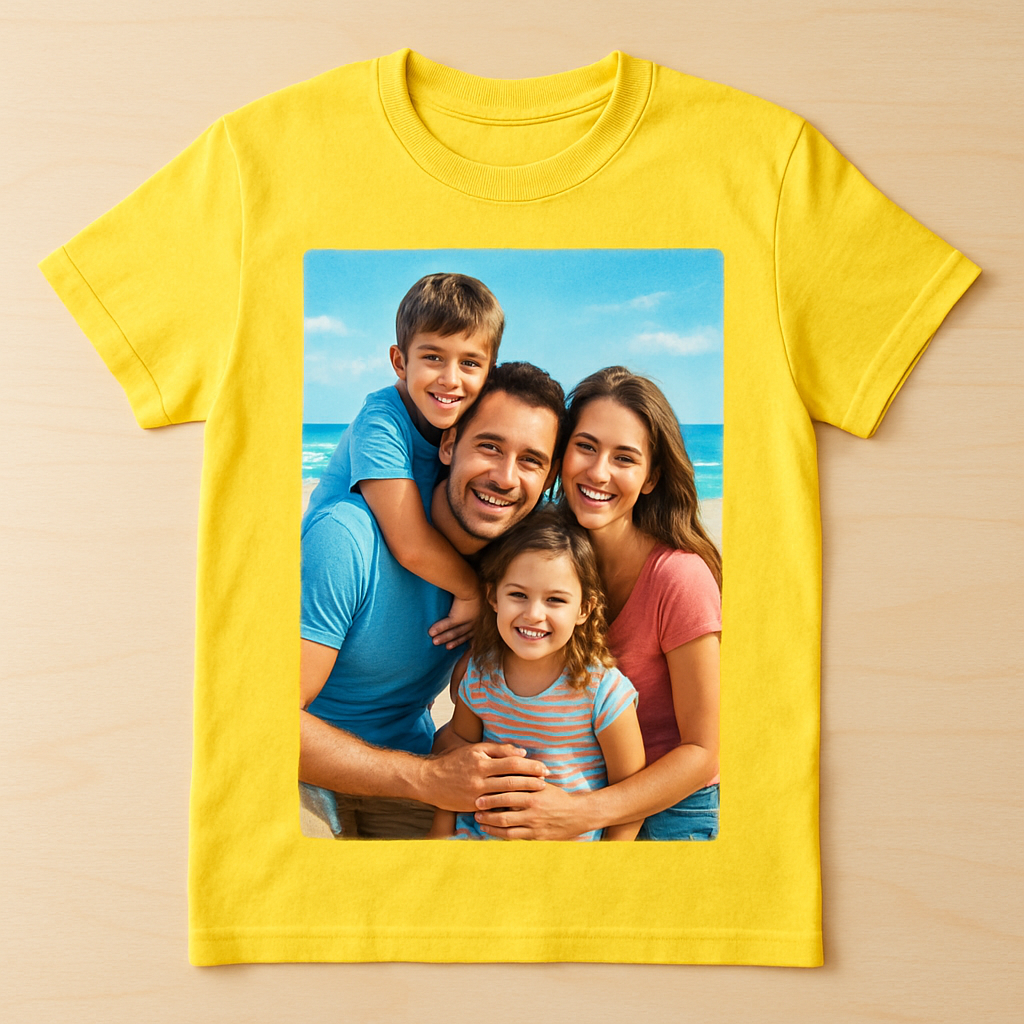
Alright, you’ve decided a personalized photo t shirt is the perfect way to wear that memory—now comes the fun part: picking the right picture and the layout that makes it pop.
First, think about the feeling you want the shirt to carry. Is it the goofy grin from last summer’s beach day, or the quiet pride of your kid’s first soccer goal? The emotion behind the snap will guide everything else.
Choose a photo that’s sharp and well‑lit. A high‑resolution image (at least 150 dpi) keeps the print crisp, even after a dozen washes. If the file looks pixelated on your screen, it’ll look fuzzy on the fabric too.
Look at the composition. A clean background, clear subject, and good contrast make the design stand out. Portrait‑oriented shots work great for a centered chest print, while landscape shots can stretch across the back for a bold statement.
When you crop, keep the main subject away from the edges—about an inch of breathing room prevents the print from getting cut off at the seams. Most print‑on‑demand tools let you drag a box around the focal point, so experiment until it feels right.
Now, decide on the layout style. The simplest is a single, centered image—clean, classic, and works for almost any photo. If you’re feeling creative, try a full‑bleed design that covers the entire front, or a collage of several tiny snapshots for a scrapbook vibe.
Here’s a quick visual walkthrough of the process:
After the video, hit the preview button. Zoom in to check that the eyes aren’t blurry and that any text you’ve added stays legible. If something looks off, go back and adjust the crop or swap the photo—don’t settle for “good enough.”
Once you’re happy, lock in the design and move on to choosing the shirt’s fit and color. Remember, the better your photo looks in the preview, the more your loved one will smile when they see it for the first time.
- Pick a high‑resolution image (150 dpi or higher).
- Use a clean background and strong contrast.
- Leave a margin of about an inch around the main subject.
- Choose a layout: centered, full‑bleed, or collage.
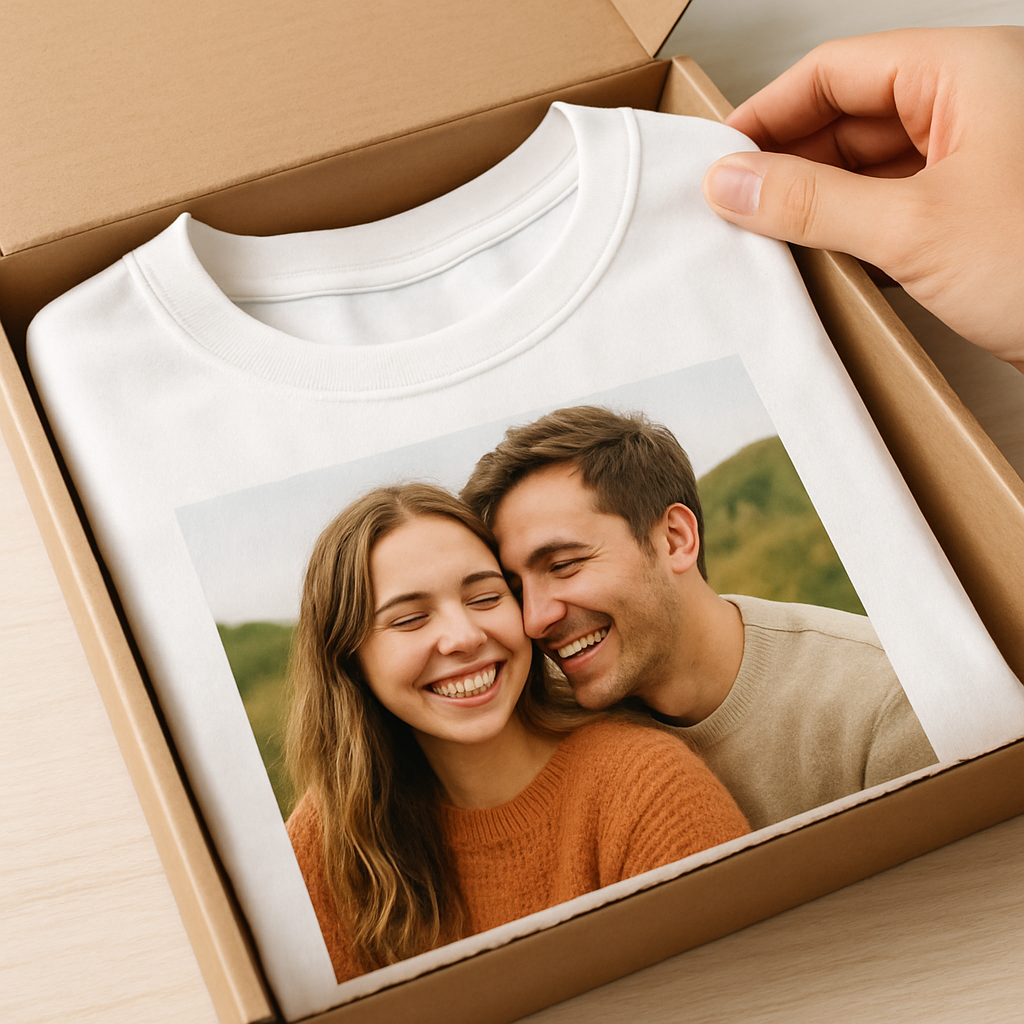
Pro tip: test the design on a plain white tee first. The contrast is easier to judge, and you’ll spot any stray pixels before you order the final color.
That’s it for step one—choose your photo, shape the layout, and you’re already halfway to turning a memory into a wearable hug.
Step 2: Select Shirt Style and Fabric
Okay, you’ve got the perfect photo, now it’s time to decide what kind of shirt will actually wear that memory the way you imagine.
Do you picture a classic crew‑neck that feels like a well‑worn favorite, or maybe a sleek v‑neck that shows a bit of edge? And what about sleeves – short for summer vibes, long for cozy evenings?
Pick the cut that matches the moment
Here are the most common styles you’ll run into:
- Crew neck – the go‑to for casual, family‑friendly looks.
- V‑neck – adds a touch of polish without feeling dressy.
- Long‑sleeve – perfect for cooler weather or a sporty feel.
- Tank or sleeveless – great for workouts or hot‑day adventures.
And don’t forget the fit: relaxed, classic, or slim. If you’re gifting a dad who loves a roomy tee, go relaxed. For a teen who prefers a tighter silhouette, classic or slim works better.
Choose a fabric that lets your photo shine
The fabric is the silent partner in this whole story. Most print‑on‑demand shops, including the ones we trust, offer a soft jersey cotton blend that feels like a hug and lets ink sink deep into the fibers. That “edge‑to‑edge” printing means your image won’t crack or peel after a few washes BagsofLove explains the fabric options.
If you’re printing a bright sunrise over the ocean, a light‑weight (around 150 gsm) jersey keeps the colors vivid and the shirt breathable. For a bold team logo or a high‑action sports snap, a slightly heavier (180‑200 gsm) polyester‑cotton blend adds durability and a bit of stretch, which helps the print stay crisp even after a game.
Real‑world example: Mom used a soft crew‑neck jersey to showcase a candid beach photo of her kids building a sandcastle. The gentle fabric let the pastel sky stay pastel, and the shirt stayed soft wash after wash. On the flip side, a dad printed his son’s soccer goal on a performance‑style tee; the moisture‑wicking blend kept the shirt cool on the field and the bright green jersey made the ball pop.
Quick style‑and‑fabric checklist
- Decide on neck style (crew vs. v‑neck).
- Choose sleeve length based on season and use.
- Select fit (relaxed, classic, slim).
- Pick fabric weight – lighter for casual, heavier for sports.
- Match shirt color to photo contrast (dark shirt for light images, vice‑versa).
Pro tip: after you’ve settled on a style, upload a test preview on both a white and a dark mock‑up. You’ll instantly see if the photo loses detail or looks too muted.
And if you’re still unsure, look at what other buyers say – Amazon shoppers repeatedly mention “vivid colors” and a “soft feel” that lives up to the image quality Amazon reviewers note the vivid print quality.
Bottom line: the right shirt style and fabric turn a flat picture into a piece of wearable art you’ll actually want to wear. Take a minute, run through the checklist, and you’ll be one step closer to that perfect personalized photo t shirt.
Step 3: Upload and Position Your Photo
Alright, you’ve picked the perfect snap and chosen the shirt style. Now it’s time to get that image onto the tee without ending up with a blurry ghost.
1. Check the file before you upload
First thing’s first – make sure your photo meets the basic specs. Aim for at least 150 dpi at the final print size (usually 10‑12 inches wide). If you’re pulling a picture straight from your phone, most modern smartphones shoot 12 MP or higher, so you’re usually safe. Save it as a high‑quality JPEG or PNG – PNG is best if you need a transparent background for a badge‑style design.
Pro tip: zoom in on the file on your computer. If you can still see the individual pixels, the resolution’s too low and the print will look grainy.
2. Choose the placement that matches the story
Think about where you want eyes to land. A full‑front splash works great for dramatic beach sunsets or a concert crowd. A centered‑chest badge feels intimate – perfect for a family portrait or a pet’s goofy grin. If you’ve got a series of moments, a vertical collage down the side can turn the shirt into a timeline.
Printify’s design guide recommends keeping the main graphic between 6‑8 inches wide for a center‑chest placement and about 2‑3 inches below the collar for a balanced look according to Printify’s placement guidelines. That rule works whether you’re printing a single photo or a small logo.
Real‑world example
Imagine a dad who wants to celebrate his son’s first hockey goal. He uploads a high‑contrast action shot, chooses a performance‑blend tee, and places the image in the center‑chest area, 3 inches under the collar. The result is a crisp, eye‑catching print that looks great from every angle.
3. Use the preview tool – don’t guess
All reputable print‑on‑demand platforms, including heartful.gifts, give you a live mock‑up. Drag the file onto the virtual shirt, toggle between a white and a dark mock‑up, and watch how the colors pop. If the photo looks muted on a dark tee, flip to a lighter shirt or boost the contrast in your editing app.
Another tip: check the “edge‑to‑edge” option if you want the image to wrap around seams. That way you avoid a white border that can look cheap.
4. Fine‑tune the size and alignment
- Resize the image so the subject fills roughly 60 % of the printable area – enough to be bold but not so big it runs into the seams.
- Center it horizontally; most tools let you snap to the middle line.
- Measure the vertical distance from the collar: about 2‑3 inches for a chest logo, 4‑6 inches for a back design.
If you’re using a collage, keep each photo within a 4‑inch square and align them in a vertical column. Consistent spacing makes the whole design feel intentional.
5. Double‑check before you hit “order”
Take a moment to view the mock‑up on a laptop screen and a phone screen. Does the image look sharp on both? Does any part of the picture get cut off by the sleeve or neckline? If anything feels off, go back and adjust the file – it’s way easier now than after the shirt is printed.
And remember, many shoppers rave about the vividness of their custom tees because they followed these exact steps. Snapfish notes that personalized photo gifts feel “more heartfelt” when the image quality is spot‑on, a sentiment that translates perfectly to t‑shirts according to Snapfish’s personalized gift insights.
Bottom line: upload a high‑resolution file, pick a placement that tells your story, use the preview to perfect size and color, and you’ll end up with a personalized photo t shirt that looks as good in the wash as it does in the mock‑up.
Step 4: Review Options and Compare Pricing
Now that your photo is perfectly positioned, it’s time to stare at the numbers and make sure you’re getting the best bang for your buck. It can feel a little like shopping for a plane ticket – you want the right seat, the right timing, and a price that won’t make you wince.
Gather your options first
Start by pulling up the product pages for the styles you liked in Step 2. Most print‑on‑demand shops show a base price for a single shirt and then a sliding scale as you add more pieces. Jot down three key variables for each option: the shirt’s fabric (cotton‑blend vs. polyester‑cotton), the printing method (direct‑to‑garment vs. screen), and any add‑ons like a tag‑less label or gift packaging.
For example, a soft jersey tee from RushOrderTees might start at $12.99 for one shirt, but drops to $9.50 each when you order 25 or more according to RushOrderTees’ bulk pricing guide. Meanwhile, Underground Shirts lists a poly‑cotton blend that’s a touch heavier and costs $13.20 per piece, with free shipping on any order as noted on their site. Those little differences add up.
Compare pricing factors
Make a quick spreadsheet (or just a piece of paper) with columns for:
- Base shirt cost
- Printing cost per placement
- Discount tier thresholds
- Shipping fees
- Estimated turnaround
Plug in the numbers you collected. If you’re ordering a single gift, the cheapest per‑shirt price isn’t always the winner – you might pay extra for a faster rush or a softer fabric that feels nicer against the skin. If you’re buying for a family reunion, look for the tier where the per‑shirt price drops dramatically.
Build a quick decision matrix
Here’s a simple table you can copy‑paste into your notes. It lines up the most common criteria we talk about in this step.
| Feature | Option A (RushOrderTees Classic Tee) |
Option B (Underground Poly‑Cotton) |
|---|---|---|
| Base price (1 ×) | $12.99 | $13.20 |
| Price @ 20 pcs | $10.45 each | $11.70 each |
| Fabric feel | Light 150 gsm jersey (soft) | Heavier 180 gsm blend (sturdy) |
| Print method | Direct‑to‑Garment (full‑color) | DTG + optional screen for accents |
| Shipping | Free standard (3‑5 days) | Free standard (2‑4 days) |
Notice how the price gap narrows once you hit 20 shirts, but the fabric choice flips – the heavier blend might be better for a sports team’s uniform, while the soft jersey wins for a cozy family gift.
And here’s a handy tip: many shops, including heartful.gifts, let you order a single “sample” shirt at the same price as a bulk order. Ordering that sample lets you feel the fabric and see the print before you commit to a larger batch.
Finally, double‑check any hidden fees – some providers charge extra for a “white‑label” tag‑less option or for rush production. Add those to your matrix, and you’ll see the true cost.
When the numbers line up with your budget and the feel you want, you’ve nailed Step 4. Hit “add to cart” with confidence, knowing you’ve compared options like a pro.
Step 5: Place Order and Care Tips
Now that you’ve double‑checked the design, it’s time to click that “Place Order” button without second‑guessing yourself. It feels a bit like sending a love letter—you want it to arrive just right, right?
Confirm the final details
Take a quick glance at the cart summary. Is the size you selected still the one you need? Did you add the optional tag‑less label that makes the shirt feel more premium? If you’re ordering a gift, toss in a short note while you’re there—most sites let you add a message that prints on the packing slip.
Pro tip: many print‑on‑demand shops, including heartful.gifts, let you order a single “sample” shirt at the same bulk price. Grab that sample if you’re on the fence; feeling the fabric in person beats any screenshot.
Timing matters
Are you hoping to have the shirt in time for a birthday or a family reunion? Shipping windows can shift fast, especially around holidays. Walmart’s photo center suggests ordering by noon PST on the recommended date to improve on‑time delivery chances according to Walmart’s gift‑timing guidance. Treat the checkout like you’d set a reminder for a flight—pick a delivery slot that leaves a buffer.
If you need it ASAP, look for “rush production” or “express shipping” options. They usually add a few dollars but save you from a last‑minute scramble.
Care instructions that actually work
Once the shirt lands at your door, you’ll want it to stay vibrant for years. Here’s a quick, human‑friendly checklist:
- Turn the shirt inside out before the first wash – it protects the print.
- Use cold water and a gentle cycle; hot water can make the inks fade faster.
- Avoid the dryer if you can. Air‑drying on a flat surface keeps the print from stretching.
- If you must tumble dry, choose low heat and remove the shirt while it’s still a bit damp.
- Skip the bleach. It’s a fast track to a ghostly print.
These steps mirror the care advice you’ll see on most custom‑t‑shirt sites, like Kmart’s guide for their personalized apparel which recommends gentle washing to preserve print quality. It’s not rocket science—just a few extra seconds each laundry day.
What to do if something goes sideways?
Even with careful planning, a shirt can arrive with a misprint or a missing tag. Most reputable services have a hassle‑free “reprint” policy. Snap a photo of the issue, reach out to support, and they’ll usually send a replacement at no extra cost. Keep your order confirmation handy; it’s your ticket to a smooth resolution.
And remember, the whole point of a personalized photo t shirt is to celebrate a memory, not to stress over logistics. A little foresight at checkout and a gentle wash later, and you’ll have a wearable keepsake that sparks conversation every time you wear it.
So, ready to hit “Place Order” and then treat your new shirt like a treasured piece of your story?
Conclusion
So you’ve walked through picking the perfect snap, the right shirt style, and the care tricks that keep it looking fresh. At the end of the day, a personalized photo t shirt isn’t just fabric and ink—it’s a little memory you can wear.
Remember that moment when you saw your kid’s first goal and thought, “I wish I could keep that forever”? Now you can literally hug that memory every time you slip on the tee. That’s the magic we’re after.
What’s the next step? Grab the image that makes you smile, choose a soft jersey from heartful.gifts, and follow the simple checklist we laid out. A quick preview, a gentle wash, and you’re set for countless compliments.
If you’re still on the fence, think about the story you’ll tell at the next family gathering. A personalized photo t shirt turns a simple photo into a conversation starter, and that’s priceless.
Ready to make your memories wearable? Hit the design tool, upload your favorite shot, and let the shirt do the talking. Your story deserves a spot on your chest.
And don’t forget—once you’ve got that perfect tee, share a photo of yourself wearing it; the joy spreads faster than you think.
FAQ
How do I choose the right photo for a personalized photo t shirt?
Start with a snap that already makes you smile – maybe a candid of your kid’s first goal or a goofy family portrait. Look for clear focus, good lighting, and enough breathing room around the main subject. If the background is busy, the print can look cluttered, so a simple, high‑contrast image works best.
Tip: zoom in on the file on your computer; you should still see detail at 100 % zoom. When the picture feels crisp on screen, it’ll usually translate well onto fabric.
What image resolution do I need for a clear print?
Most print‑on‑demand services recommend at least 150 dpi at the final size, which is usually around 10‑12 inches wide. In practice that means a 12 MP photo from a modern smartphone is plenty. If you’re pulling an older image, try to upscale it with a simple photo‑editor before uploading.
Remember, a low‑resolution file will turn into a grainy ghost on the tee, and no amount of tweaking can fix that once it’s printed.
Will the colors on my shirt match the original photo?
Generally, yes – the digital‑to‑fabric process captures most of the hues. However, fabric color and lighting can shift tones a bit. A bright white tee makes colors pop, while a dark shirt can mute lighter shades. If you love a pastel sky, you might pick a lighter shirt to keep the softness.
Do a quick preview on both a white and a dark mock‑up; that little step saves a surprise when the shirt arrives.
How should I care for my personalized photo t shirt to keep it looking fresh?
Turn the shirt inside out before the first wash – it shields the print from friction. Use cold water on a gentle cycle and skip the bleach. Air‑dry flat or tumble on low heat; high heat can make inks fade faster.
If you must use a dryer, pull the shirt out while it’s still a bit damp. A few extra seconds of patience means the image stays vivid for years.
Can I order multiple shirts with different photos in one batch?
Absolutely. Most platforms let you add several designs to a single cart, and you’ll often see bulk‑price discounts once you hit a certain quantity. Just make sure each design follows the same file specs – same resolution, format, and orientation – so the production line stays smooth.
It’s a handy way to create matching gifts for a whole family reunion or a team‑spirit giveaway.
What if the print comes out blurry or misaligned?
First, double‑check the preview you saw before you hit “order.” If something looks off, most shops, including heartful.gifts, have a hassle‑free reprint policy. Snap a photo of the issue, reach out to support, and they’ll usually send a replacement at no extra cost.
Keeping your order confirmation handy speeds up the process, and it’s a good reminder that a tiny mistake doesn’t have to ruin the memory.
How long does it take to receive a custom shirt from heartful.gifts?
Standard production runs about 3‑5 business days, then shipping adds another 2‑4 days depending on your location. If you need it for a birthday or a holiday, consider the “rush” option – it adds a few dollars but shaves a week off the timeline.
Plan ahead, set a reminder to order a week before the event, and you’ll have that wearable memory right on time.