
How to Create a Custom Watercolor Pet Portrait Printable Download
We all have that one photo of our fur baby that makes us smile every time we see it.
But when that picture sits on a phone screen, does it really capture the warmth you feel?
Imagine turning that fleeting moment into a vibrant, hand‑painted masterpiece you can frame or print whenever you want.
That’s exactly what a custom watercolor pet portrait printable download offers – a personal gallery piece that lives beyond the screen.
So, how do you get from a cute snap to a gallery‑ready watercolor that you can hang in your living room?
Let’s walk through the simple steps, share a few pro tips, and show why this download is the perfect gift for pet‑loving parents, spouses, or even yourself.
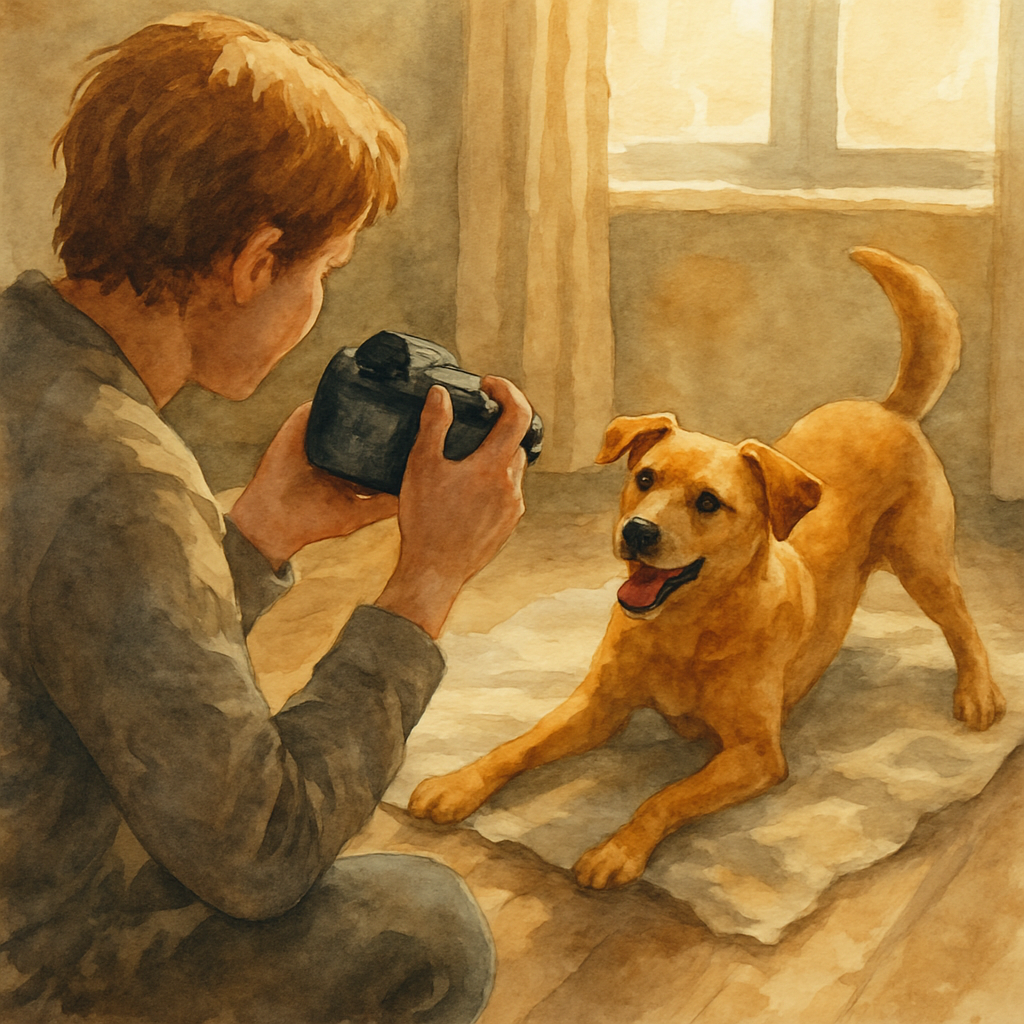
First, you choose the photo that captures your pet’s personality – that goofy grin, the curious stare, or the lazy‑sunbeam pose.
Next, our artists translate it into a watercolor style, preserving those soft fur tones while adding a dreamy splash of color.
Because it’s a printable download, you receive a high‑resolution file instantly, so you can print on canvas, paper, or even a pillow without waiting weeks for shipping.
And if you’re wondering about quality, think of it like picking the right component for a machine – you want reliability and detail, just like reading the Top 7 Factors to Consider When Choosing a Plug Valve Manufacturer before you buy.
When you print the file at home or a local shop, you control the paper type and size, making it truly yours.
Ready to see your pet’s charm on your wall? Discover the magic of a custom watercolor pet portrait gift and start your printable download today.
It’s a keepsake that will warm your heart for years.
TL;DR
If you’ve ever wanted a gallery‑ready portrait of your furry friend without waiting weeks for shipping, a custom watercolor pet portrait printable download lets you turn a favorite photo into a vibrant, printable artwork you can hang instantly.
Simply download the high‑resolution file, choose paper or canvas, and in minutes have a personalized keepsake that brightens your home and makes a heartfelt gift for anyone who loves pets.
Step 1: Choose the Perfect Photo of Your Pet
We all know that moment when you stare at a dozen blurry snapshots of your dog and wonder, "Which one could possibly turn into a gorgeous watercolor?" It’s frustrating, right? The good news is you don’t need a pro‑level DSLR to get a photo that works for a custom watercolor pet portrait printable download.
First thing’s first: grab the photo you love the most. It might be the goofy grin your cat gives when you open a treat jar, or the way your Labrador’s ears flop when they sprint across the yard. Those genuine expressions are the secret sauce.
Lighting matters more than gear
Natural light is your best friend. Aim for early morning or late afternoon when the sun is soft. Harsh midday sun can cast hard shadows that make fur look flat. Photo lighting tips for pet portraits suggest positioning your pet near a window or stepping outside on a cloudy day – the diffused light wraps around fur beautifully.
And if you’re stuck indoors, try a sheer curtain to soften the glow. It’s like giving your pet a gentle spotlight without the drama.
Pick a simple background
Clutter distracts the eye. A plain wall, a cozy rug, or a garden backdrop works wonders. You don’t need a studio; just clear the coffee table, move the toys out of the frame, and let your pet be the star.
Do you ever notice how a busy kitchen scene makes it hard to focus on the subject? Same thing with pet photos. Simplicity helps the watercolor artist capture the essence without getting lost in details.
Get the angle right
Eye‑level shots make the portrait feel intimate. Kneel or sit down so you’re at the same height as your fur baby. If your cat likes to perch on a windowsill, shoot from that height – you’ll get a regal, up‑close view.
But don’t be afraid to experiment. A low angle can emphasize a towering Great Dane, while a top‑down view works for a tiny hamster. Think about the story you want to tell.
Focus on the eyes
Eyes are the windows to the soul, and they’re the first thing people notice in a watercolor. Make sure they’re sharp and well‑lit. If your pet’s eyes look dull, try a treat or a squeaky toy to get that spark of curiosity.
And if you’re using a phone, tap the screen where the eyes are to lock focus. It’s a tiny trick that makes a huge difference.
Capture personality, not perfection
Don’t stress about a perfectly groomed coat. A few stray hairs or a mud‑splatter can add character. Remember, the artist will interpret those quirks into brushstrokes that feel alive.
Think about the last time you laughed at your pet’s goofy sneeze – that’s the vibe you want to freeze in the printable download.
So, what’s the next step after you’ve nailed the perfect shot? Export the image in the highest resolution your camera offers, preferably JPEG or PNG, and save it to a folder you’ll remember. You’ll upload this file when you order the custom watercolor pet portrait printable download from heartful.gifts, and the artist will turn it into a gallery‑ready masterpiece.
Quick checklist before you hit upload:
- Natural, diffused lighting
- Simple, uncluttered background
- Eye‑level or intentional angle
- Sharp eyes
- Authentic personality
If you’ve checked all the boxes, you’re good to go. Still unsure? Pet community advice often mentions that a quick test – printing the photo on regular paper – can reveal if the details hold up.
And remember, you don’t need a perfect photo, just one that makes you smile every time you look at it. That smile is exactly what the watercolor will capture.
Ready to pick that winning shot? Grab your camera, follow the tips, and let the magic begin.
Step 2: Set Up Your Workspace and Tools (Video)
Alright, you’ve got the perfect photo ready – now it’s time to give the watercolor artist a clean, calm stage to work their magic.
Imagine you’re about to paint a beloved pup on a rainy afternoon. Would you set up on a cluttered kitchen counter with the fridge humming in the background? Probably not. A tidy, well‑lit nook makes the whole process feel less like a chore and more like a cozy coffee date with your pet.
Pick a quiet corner
First, find a spot where you won’t be interrupted. A spare table by a window works wonders because natural light is soft and even. If you don’t have a window, a daylight‑balanced lamp (5000 K) does the trick.
Does your space feel cramped? Try folding a simple screen or a portable backdrop to create a visual “wall” just for the painting.
Essential tools
Here’s a quick checklist that keeps the artist focused on your pet’s expression, not on hunting for supplies:
- Good‑quality watercolor paper (100 % cotton, cold‑press is a safe bet)
- A small set of artist‑grade paints – you don’t need a rainbow, just a few primaries and a couple of accents
- Two brushes: a large round for washes and a fine round for details
- Two glass jars – one for clean water, one for rinsing
- Masking tape or drafting tape to secure the paper to a board
That list feels familiar? It mirrors the starter kit recommended by watercolor experts, so you know you’re not over‑buying.
And here’s the video that walks you through laying everything out step by step:
Lighting matters
Even the best paper looks dull under harsh fluorescent light. Position a lamp at a 45‑degree angle so the light falls gently across the paper, revealing texture without creating glare.
Want a pro tip? A cheap, white foam board placed opposite the lamp acts as a reflector, bouncing light back onto the artwork and reducing shadows.
A quick read of a home office ergonomics guide suggests keeping the lamp at eye level to avoid neck strain.
Organize for speed
When the artist receives your file, they’ll be juggling a few minutes of “first glance” before the paint even touches the paper. Keep everything within arm’s reach: paint tubes in a small tray, brushes in a cup, water jars on the same side of the table.
Does this feel like a lot to remember? Write a one‑line “setup cheat sheet” on a sticky note and tape it to the edge of the table. You’ll thank yourself later.
Test your setup
Before you hit “upload,” do a quick dry run. Lay a blank sheet of watercolor paper on your board, splash a little water, and watch how it behaves. If the paper buckles, add a heavier board or a second layer of tape.
And if the colors look muddy, check your water temperature – lukewarm water helps pigments blend smoothly, while ice‑cold water can make them look dull.
Once everything feels steady, you’re ready to send the high‑resolution photo to heartful.gifts. The artist will thank you for the clean, well‑lit workspace you helped create – and you’ll get a portrait that truly captures your pet’s personality.
So, what’s the next move? Grab those basic tools, set up your little studio, and hit play on the video. You’ll be surprised how quickly the process clicks, and you’ll feel a lot more confident when you finally order your custom watercolor pet portrait printable download.
Step 3: Sketch the Outline and Plan Your Composition
Okay, you’ve got your mini studio set up and the water’s at the right temperature – now it’s time to think about the picture itself. Before we hit record, let’s grab a scrap of paper and doodle a rough outline.
Why bother with a quick sketch? Because it gives you a mental map of where your pet will sit, where the light will fall, and where you’ll leave a little breathing room. Think of it as a storyboard for a short film starring your fluffy friend.
Spot the main subject and the space around it
First, draw a simple silhouette of your dog, cat, or rabbit. Don’t worry about details – a few curved lines are enough. Then, add a faint border around the edge of the frame. This helps you avoid the dreaded “chopped‑off tail” mistake that many pet photographers make.
Remember the rule from Inspawration Photography’s guide on pet composition: give your subject a bit of room to breathe. A little space above the head and below the paws makes the image feel relaxed instead of cramped.
Do you ever notice how a photo feels “off” when the animal is too close to the edge? That’s the same thing we’re fixing here – we want the viewer’s eye to glide gently around the portrait, not slam into a hard border.
Decide on orientation and focal points
Most dogs look more natural in landscape mode, while cats can shine in portrait. Sketch both options on your paper and ask yourself: “If the pet looks to the left, do I have enough space on that side for the gaze to travel?” That little question can save you a lot of cropping later.
Another tip from the YouTube tutorial on planning pet photo composition is to mark the “eye line” – the imaginary line that runs through the animal’s eyes. Align this line a third of the way down the frame and you’ll instantly get a balanced feel without needing a grid.
Map out props and background elements
If you plan to include a favorite toy, a blanket, or a seasonal backdrop, sketch those in lightly. Make sure they don’t compete with the pet’s silhouette. A subtle texture behind the animal can add depth, but too many objects will distract from the main subject.
Write a quick note next to your sketch: “light source from window, left side, soft diffused”. This reminder will guide you when you start adjusting your lights or moving the tablet to catch the perfect glow.
Turn the sketch into a shot list
Now that you have a visual plan, list the actual shots you’ll capture. Example:
- Wide landscape with pet centered, background blurred.
- Close‑up head shot with extra breathing room above the ears.
- Side profile looking toward the right, with extra space on that side.
Having this checklist means you won’t waste time guessing “should I try another angle?” when you’re already in the middle of a recording session.
And here’s the kicker: once you’ve captured those images, heartful.gifts will turn the best one into a custom watercolor pet portrait printable download. The clearer your composition, the smoother the artist’s job, and the sharper the final printable will be.
So, grab that pencil, sketch a quick outline, and let the plan guide your camera. You’ll feel more confident, you’ll avoid common composition pitfalls, and you’ll end up with a beautiful portrait that truly captures your pet’s personality.
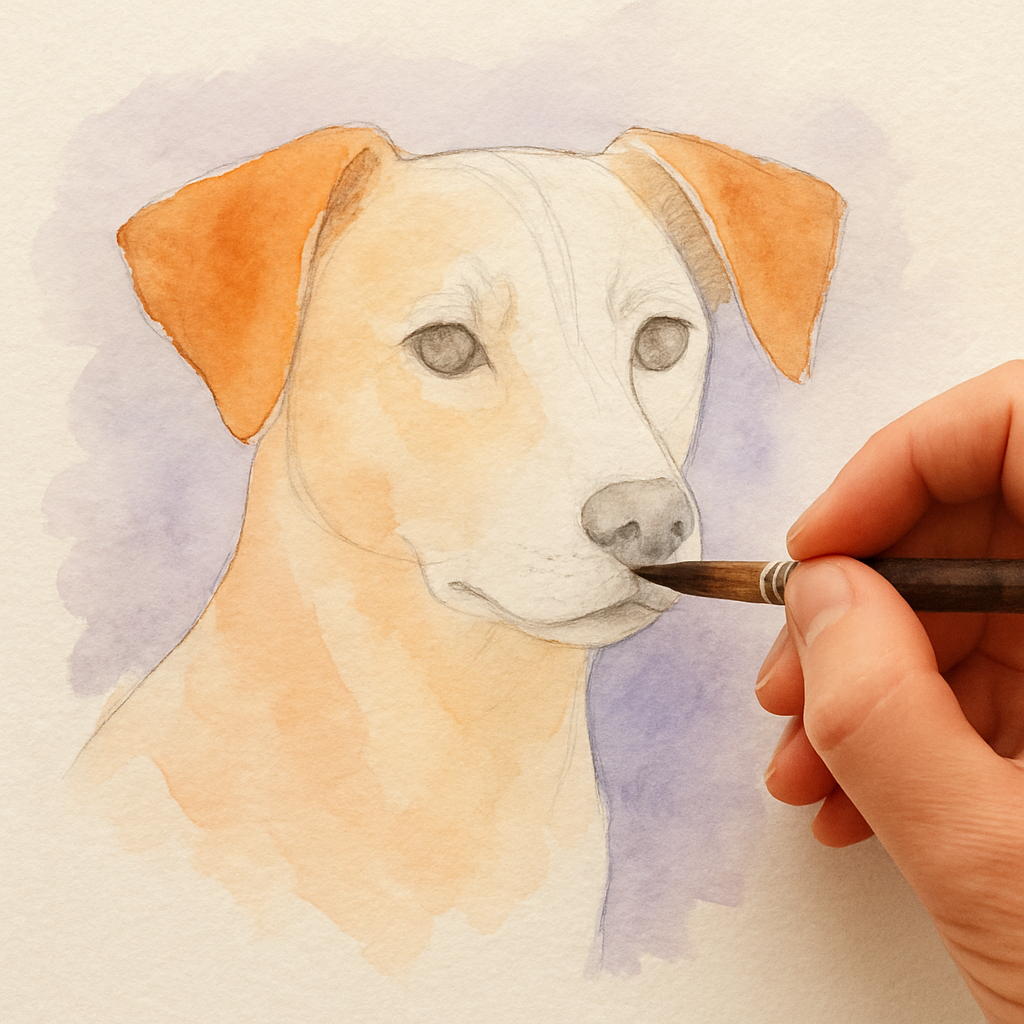
Step 4: Paint Base Layers and Add Color Harmony
Alright, you've got your sketch and your light map nailed down, so now it's time to bring some life onto the paper. Think of the base layers as the foundation of a house – if they're solid, everything you add later will feel sturdy and trustworthy.
First thing's first: grab a soft round brush and mix a watery wash that matches the dominant hue of your pet's fur. Don't worry about perfect precision; you’re just laying down a mood. A light, translucent wash over the whole silhouette helps you see where the shadows will naturally fall.
So, what should you actually do? Here’s a quick three‑step cheat sheet:
1. Block in the major color families
Start with the biggest areas – the body, the ears, the tail. Use broad strokes, let the pigment flow. If your dog is a golden retriever, a warm ochre wash works wonders. For a tuxedo cat, a cool gray base sets the stage. Remember, you can always darken later, but you can't really pull paint out.
Tip: keep a wet‑on‑wet approach for the first layer; it lets colors blend naturally, just like a sunrise.
2. Establish light‑to‑dark values
Now, while the first wash is still damp, drop in a slightly richer tone where the light hits strongest – maybe the top of the head or the cheek. Then, with a clean brush, lift out a bit of pigment where the shadow deepens. This gentle push‑pull creates the subtle depth that makes a portrait feel three‑dimensional.
Does this remind you of the way a photographer plays with exposure? Same principle, just with pigment instead of pixels.
3. Add a harmony splash
Here's where color harmony steps onto the stage. Pick a complementary hue – think blue against orange, or violet against yellow – and add a whisper of it in the background or in the fur highlights. This tiny surprise makes the eye travel across the piece, preventing the portrait from feeling flat.
For a real‑world example, check out this quick watercolor layering guide that walks through wet‑on‑wet basics. It shows how a dash of cool blue can lift warm browns without clashing.
And if you want to dive deeper into the theory behind those harmonious pairings, learn more about color harmony in painting. The video explains why artists often use a “split‑complement” to keep things lively yet balanced.
Now, pause for a second. Do you feel that little spark of excitement when the colors start to talk to each other? That's exactly the moment you know you're on the right track.
Quick checklist before you move on
- Base wash covering the entire silhouette
- Two to three richer tones defining light and shadow
- One complementary hue introduced subtly
- Paper still damp enough to blend, but not so wet that colors run uncontrollably
Once you’ve checked those boxes, let the paper dry completely. This is the perfect time to step back, sip some coffee, and imagine how the final custom watercolor pet portrait printable download will look on a wall.
When the paper is dry, you’ll see the underlying color map that guides the finer details. Those later layers – the whiskers, the sparkle in the eyes – will sit nicely on this well‑balanced foundation, and the final printable will pop with that professional, gallery‑ready vibe.
Bottom line: treat the base layers like a conversation starter. You’re setting the tone, inviting the viewer in, and giving yourself a flexible canvas for the details that follow. Ready to move on to the next step? Grab your fine brush, and let’s bring those pet personalities to life.
Step 5: Add Details, Texture, and Personal Touches
Now that the base layers are dry, it's time to invite the personality of your furry friend onto the paper.
Think about that moment when your dog tilts its head and you swear you can see a whole conversation happening in its eyes. That's the kind of tiny drama we want to capture.
Pick the right brushes
A fine-point round brush (size 0 or 1) becomes your storytelling pen. It lets you draw whiskers, fur strokes, and that glint of mischief without smudging the washes underneath.
Do you have a dry brush handy? A dry brush on a slightly damp area can suggest soft fur texture with just a few flicks.
Layer the eyes first
Eyes are the windows, right? In watercolor, they’re also the brightest spot that pulls the viewer in.
Start with a light wash of the iris color, then add a darker rim for depth. According to tips on painting believable animal eyes, placing a tiny white highlight after the dark layer makes the eye look alive.
Don't worry if the highlight looks too perfect—add a faint, irregular edge with a clean wet brush to keep it feeling organic.
Build fur texture
Instead of trying to draw every single hair, think in terms of “suggested strokes.” Use a combination of wet‑on‑wet for soft shadows and dry‑on‑wet for those crisp strands that catch the light.
Here's a quick trick: load a small amount of pigment, then tap the brush against a paper towel to create a stipple effect. It mimics the speckled pattern of a tabby's coat without endless detail.
If you prefer a visual walk‑through, check out this step‑by‑step watercolor tutorial on YouTube for more texture tricks.
Personal touches that make it yours
Maybe your cat loves a red collar, or your rabbit has a favorite carrot toy. Add those tiny accessories in a contrasting hue—just a sliver of color, but it says, “this is *your* pet.”
And if you’ve got a little memory of a specific scent or sound, translate that into a visual cue: a faint background of a garden, a sun‑lit windowsill, or even a doodle of a squeaky ball.
Final checks before you export
Step back and ask yourself: does the portrait feel like a conversation? If something looks flat, go back with a soft glaze to lift the area a touch.
When you're happy, scan at 300 dpi or export as a high‑resolution PDF. That way the custom watercolor pet portrait printable download stays crisp whether it ends up framed or printed on a tote.
One last tip: before you hit “save,” preview the file on a phone screen. If the details still pop at that size, you know the texture will survive any print size.
Remember, the joy is in those imperfect spots—those happy accidents are what make each portrait truly one‑of‑a‑kind.
So, what’s the next move? Grab your fine brush, add those last few strokes, and let the pet’s personality shine through the paper.
Step 6: Print Options Comparison and Final Export
Now that your watercolor pet portrait is looking lively, it's time to decide how you'll get it out of the digital world and onto something you can hold.
Do you picture it framed above the couch, printed on a tote, or maybe tucked into a greeting card?
Print size—what feels right?
Think about where the artwork will live. A 8×10 inch print works great for a bedside wall, while a 12×18 inch version makes a statement above a mantle.
But if you want to slip it into a wallet‑size card, a 4×6 inch file keeps details crisp without needing a massive download.
Here's a quick way to match size to purpose:
| Print Size | Ideal Placement | Notes |
|---|---|---|
| 4×6 in | Greeting cards, small frames | Fast to print, easy to ship |
| 8×10 in | Home décor, standard frames | Balances detail and cost |
| 12×18 in | Feature wall, gift for grandparents | Shows texture, may need professional print service |
Does that help you picture the final look? If you’re still unsure, print a test strip at the smallest size and hold it up to a light source. The colors should still pop.
Paper type matters more than you think
Just like you wouldn't paint on cheap notebook paper, the surface you choose for the final print influences how the watercolor feels.
According to Jenna Rainey's guide to watercolor paper, heavyweight, acid‑free paper (300 gsm or more) holds water better and prevents warping, which is perfect for a custom watercolor pet portrait printable download.
If you love the look of a subtle texture, go for cold‑pressed cotton paper; it gives the image a toothy feel without hiding details.
For a sleek, modern vibe, a smooth hot‑pressed surface works well, especially if you’ll also frame behind glass.
And remember: bright white paper amplifies the transparent washes, while a cream tone softens the palette. Choose the hue that matches your pet’s personality.
File format and resolution checklist
Before you hit “export,” run through this short checklist:
- Resolution: 300 dpi minimum for print; 150 dpi is okay for digital‑only use.
- Color mode: CMYK for physical prints, RGB if you’ll also share online.
- File type: PDF preserves layers and prints consistently; PNG works for transparent backgrounds.
- Bleed: Add a ¼‑inch bleed if the print will be trimmed.
Most print‑on‑demand services, like the one we use at heartful.gifts, accept a high‑resolution PDF, so you’re covered.
Comparing print‑on‑demand vs. home printing
Do you love the control of printing at home, or would you rather let a pro handle it?
Home printers give instant results, but they often struggle with true watercolor gradients and may leave banding.
A professional service can reproduce the subtle washes on archival paper, keeping the colors true to life.
Here’s a side‑by‑side look:
| Option | Cost per Print | Quality | Turnaround |
|---|---|---|---|
| Home Inkjet | Low | Good for drafts, may miss fine texture | Immediate |
| Online Print‑On‑Demand | Medium | High fidelity on premium paper | 2‑5 days |
| Local Print Shop | Variable | Custom finishes, expert advice | Same‑day to week |
Which route feels right for you? If you’re gifting a beloved pet owner, the extra cost of a professional print often feels worth it.
Even members of a beginner photography community on Facebook say a quick phone preview catches issues before you order, so give it a spin.
Final export steps
One last thing before you celebrate: open the file on a phone screen. If the whiskers and fur details still read clearly, you’re golden.
Then hit “Save as PDF,” double‑check the bleed, and upload to heartful.gifts. Their system will automatically generate a downloadable link that you can send straight to the gift‑receiver.
And there you have it—your custom watercolor pet portrait printable download is ready to become a tangible memory.
FAQ
What is a custom watercolor pet portrait printable download?
It’s a digital file that captures your furry friend in a hand‑painted‑style watercolor look, ready for you to print at home or through a service. You get a high‑resolution PDF, so the colors stay soft and the details stay sharp whether you hang it on the fridge or frame it for the living room.
How do I prepare my photo for the best results?
First, pick a clear, well‑lit shot where your pet’s eyes and fur texture are visible. If the background is busy, crop it to focus on the animal – that way the artist can translate the subtle shades without distraction. A quick test: open the photo on your phone and zoom in; you should still see the whiskers.
Can I print the portrait on any paper?
Absolutely, but the finish matters. Thick, matte art paper or archival‑grade watercolor paper brings out the soft gradients the way the artist intended. If you’re after a quick gift, a good‑quality glossy photo paper works too – just be aware it can make the watercolor look a bit shinier.
How long does the download become available after I order?
Usually within a few minutes. The moment the payment clears, heartful.gifts sends you a secure link to the PDF. If you don’t see it right away, check your spam folder – the email can sometimes hide there.
Is there a way to preview the portrait before I commit?
Yes, many buyers ask for a low‑resolution preview. Heartful.gifts offers a quick watermarked sample so you can see how the colors translate from your photo. It’s a handy step to catch any goofy angles or lighting issues before you hit “download.”
Do I need special software to open the file?
Nope. The PDF opens in any free viewer – Adobe Reader, Preview on macOS, or even your phone’s built‑in viewer. If you want to tweak the size, most apps let you print a custom scale, so you can fit a 8×10 frame or a larger poster without extra tools.
Conclusion
So there you are, holding that fresh PDF of your custom watercolor pet portrait printable download, and maybe you’re wondering if it was worth the click.
We’ve walked through why the art feels so personal, how the instant download saves you waiting, and the simple steps to get the file printed on the right paper. In short, you get a heartfelt piece that looks like it was painted just for you, without the usual hassle.
What’s the next move? Grab a favorite photo of your fur‑friend, upload it to heartful.gifts, and let the artists turn it into a watercolor you can frame in minutes. Then, pop the PDF into any free viewer, pick the paper that matches your vibe – matte for a soft look or glossy for a pop – and print it at home or a local shop.
Honestly, the biggest win is the emotional punch when you see that finished portrait on your wall. It’s a reminder of a wag, a purr, or that goofy grin that never fades.
Ready to make that memory tangible? Click the “Create Your Portrait” button, and let the magic happen. You’ve got the guide, the file, and the freedom – now just enjoy the art.