
How to Choose and Care for a Custom Photo Projection Necklace
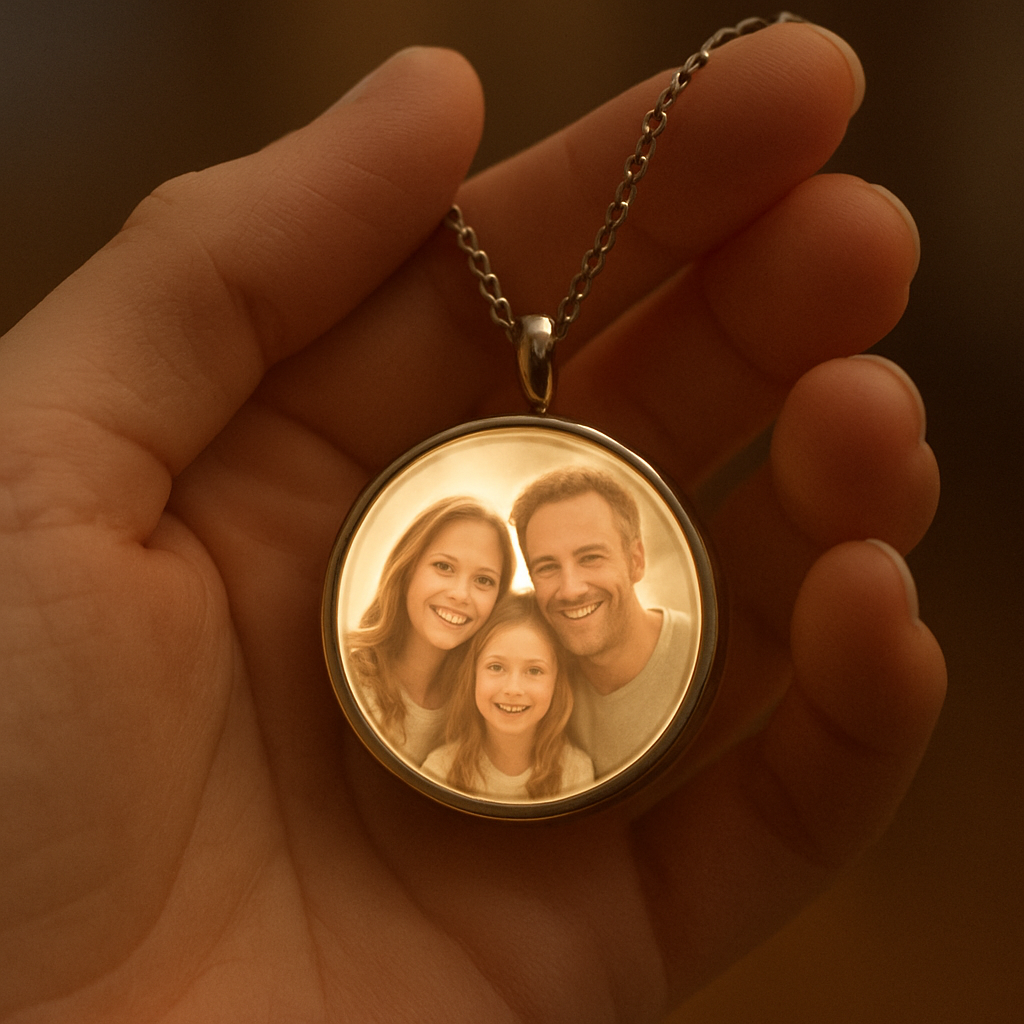
Ever stared at a favorite photo on your phone and thought, "What if I could wear this memory around my neck?" That tiny moment of longing is what sparks the idea behind a custom photo projection necklace. It’s a piece of jewelry that literally captures a snapshot and turns it into a tiny, glowing tableau.
The magic isn’t just in the tech – it’s in the feeling. Imagine gifting it to a new parent who just snapped the first picture of their newborn, or to a partner on an anniversary with a photo from the day you first met. The necklace becomes a portable time‑capsule you can press to the chest and watch the image flicker to life.
So how does it actually work? Inside the pendant sits a miniature LED projector, powered by a tiny rechargeable battery. You upload your chosen picture through a simple web interface, and the company prints the image onto a translucent film that fits snugly inside. Once sealed, the pendant projects the photo upward, creating a floating picture that’s visible from any angle.
The result feels surprisingly intimate. One of our customers shared that she set the necklace to play a photo of her late grandma’s garden, and every time she touched the pendant she felt a wave of calm, like a secret handshake with a loved one who’s no longer here. That kind of emotional resonance is what makes this gift stand out from a standard photo frame.
If you’re wondering about durability, most necklaces are crafted from stainless steel or rose gold‑filled metal, so the pendant can survive everyday wear. The battery typically lasts a week of intermittent use before needing a quick USB‑C top‑up, and the LED is low‑power enough to avoid overheating. In short, it’s built to be a keepsake you’ll actually want to wear.
Choosing the right photo is half the fun. High‑contrast images work best – think bright smiles, clear skies, or striking silhouettes. If the picture is too busy, the projection can look muddy. A quick tip: test the image on a computer screen at a small size; if it still reads well, it’ll shine inside the necklace.
Now, let’s talk about how you can pair this necklace with other gifts for maximum impact. A thoughtful combo is to pair it with a relaxing bath‑gift set – the kind of pampering duo that says, “I care about your comfort and your memories.” You can present both in a sleek gift box, letting the necklace peek out beside scented candles and bath salts.
Ready to start? Head over to our design portal, upload your favorite snap, and preview how it’ll look inside the pendant. If you need inspiration, check out our guide on meaningful custom coordinates necklace ideas – it’s packed with real stories that spark creativity.
And if you’re thinking about rounding out the present, you might also explore a curated bath gift set that complements the sentimental vibe of the necklace. A soothing soak paired with a glowing memory creates a multi‑sense experience your loved one won’t forget.
TL;DR
A custom photo projection necklace turns your favorite snapshot into a glowing keepsake you can wear, blending sentimental tech with everyday style.
Choose high‑contrast images, pair it with a relaxing bath‑gift set, and preview your design online for a heartfelt, multi‑sense gift that truly delights loved ones on every occasion.
Step 1: Select the Perfect Photo and Design
Alright, let’s dive into the part that feels like flipping through a photo album while sipping coffee. The first decision – which picture actually belongs in the tiny projector – can make or break the whole necklace experience.
Start by asking yourself: does this image still look clear when it’s shrunk to a thumbnail? If you can still read a smile or see a silhouette on a phone screen at 5 % size, you’re golden. High‑contrast shots – bright faces against a simple background, a striking sunset, or a bold black‑and‑white silhouette – tend to pop the best.
Here’s a quick test: open the photo on your computer, zoom out until it’s about the size of a postage stamp. Can you still tell what’s happening? If the answer is “yes,” you’ve got a winner. If it looks like a muddy mess, try a different angle or increase the contrast in a basic editor.
Next up, think about the story you want the necklace to tell. A newborn’s first grin? A wedding day kiss? Even a beloved pet’s goofy expression can become a tiny, glowing reminder. The more personal the moment, the stronger the emotional punch when the light flickers on.
But don’t stop at the image itself – the design of the pendant matters too. Most custom photo projection necklaces come in a few metal finishes: polished stainless steel, rose‑gold filled, or matte black. Choose a finish that matches the recipient’s style. If they love minimalist jewelry, go matte; if they adore a bit of sparkle, rose‑gold is a safe bet.
While you’re scrolling through finish options, you might wonder why a personalized piece feels so special. Why a Personalized Necklace Gift Is the Most Thoughtful Choice explains that the blend of sentiment and style creates a keepsake that’s both wearable and meaningful.
Now, a little extra tip that most guides skip: consider pairing the necklace with a complementary gift. A soothing bath‑gift set can turn the moment of unveiling into a mini‑spa ritual. It’s the kind of combo that says, “I’ve thought about every detail of your relaxation.” Check out some ideas for perfect pairings at Bath Gift Sets Near Me: The Best Local Picks for Every Occasion.
And if the recipient is a coffee lover, why not slip a bag of premium beans into the same gift box? A warm cup of coffee while the pendant lights up adds a cozy, sensory layer to the experience. Chilled Iguana Coffee Co. offers curated coffee subscriptions that pair nicely with jewelry gifts.
Watch the short video above for a visual walk‑through of uploading your photo, tweaking the contrast, and previewing the final pendant. Seeing the process in action can clear up any lingering doubts.
When you’re ready to upload, use the design portal’s built‑in cropping tool. Align the focal point of your picture – usually the eyes or a central object – so it sits in the middle of the projection area. Most portals let you preview the image as it would appear inside the pendant; take advantage of that preview and tweak brightness if needed.
Finally, double‑check the size settings. The pendant’s projection window is typically around 10 mm in diameter. Anything larger will be cut off, anything smaller might look fuzzy. If the portal warns you about low resolution, consider a higher‑resolution source file or choose a simpler image.
Once you’ve locked in the photo and finish, hit order and let the artisans do their magic. In a few days you’ll have a tiny, glowing memory ready to be slipped onto a chain and gifted with a smile.
Step 2: Choose the Right Necklace Base and Projection Style
Now that your photo is polished and ready, the next big decision is how the necklace itself will hold that tiny projector. It might sound technical, but think of it like picking the right frame for a favorite painting – the frame can either amplify the art or steal the spotlight.
Base Material Matters
Most custom photo projection necklaces come in three main base metals: stainless steel, rose‑gold‑filled, and polished silver. Stainless steel is the workhorse – it’s hypoallergenic, resistant to scratches, and perfect for everyday wear. If the person you’re gifting tends to get hands dirty (maybe a busy parent or a hands‑on hobbyist), stainless steel is the safe bet.
Rose‑gold‑filled adds a warm, pinkish hue that pairs beautifully with warm‑toned photos – think sunset skies, golden hour baby smiles, or cozy family gatherings. It feels a bit more “special occasion” without the price tag of solid gold.
Polished silver, on the other hand, gives a sleek, modern vibe. It works especially well with cooler‑tone images – icy winter scenes, crisp blue oceans, or black‑and‑white portraits. If your recipient loves minimalist style, silver often feels less “flashy” and more elegant.
Choosing the Projection Style
There are two main ways the image can be displayed inside the pendant: forward‑facing projection and 360‑degree omnidirectional projection. Forward‑facing means the light shines straight up, so the image is most visible when the wearer holds the necklace close to their chest or when you gently press the pendant to a dark surface. This is the classic “glow in the dark” effect most people expect.
360‑degree projection uses a tiny diffuser that spreads the light all around the pendant, allowing the image to be seen from multiple angles – even when the necklace is hanging on a hook or lying on a nightstand. It’s a neat trick if you want the memory to be shareable without the wearer having to press the pendant.
Which style feels right for you? Ask yourself: will the necklace be a daily‑wear piece that the recipient will glance at in passing, or a keepsake they’ll pull out for special moments? For daily wear, forward‑facing often feels more intimate because the wearer can control when the image lights up. For a display piece, the 360‑degree option adds a touch of magic.
Size and Shape Alignment
The base size should complement the photo’s composition. A round pendant works best with circular compositions – a baby’s head, a full moon, or a close‑up smile. Square or rectangular bases give you more “canvas” for landscape shots, like a beach sunrise or a city skyline.
Don’t forget about thickness. Thinner pendants look delicate but may limit battery life, while slightly thicker ones can house a larger battery for longer glow time. Most vendors strike a balance at around 6‑8 mm thickness, which is enough for a week‑long battery life without feeling bulky.
Practical Tips Checklist
- ✅ Pick a metal that matches skin tone and lifestyle.
- ✅ Decide if you want forward‑facing intimacy or 360‑degree visibility.
- ✅ Match pendant shape to your photo’s layout.
- ✅ Consider battery life – thicker bases usually last longer.
- ✅ Test the projection style with the preview tool before ordering.
Here’s a quick mental exercise: hold the mock‑up of your chosen base in one hand, and picture the moment you’ll hand it over. Does the metal feel right? Does the projection angle feel like something you’d want to show off at a dinner table?
When you’ve nailed down the base and style, you’re practically there. The next step will be about adding a complementary gift that elevates the whole experience.
Take a moment to watch the short video above – it walks through the difference between forward‑facing and 360‑degree projection, so you can see the effect in real time.
Step 3: How to Assemble and Secure Your Projection Necklace
Let’s be honest, the moment you open the tiny box that holds your custom photo projection necklace is pure excitement. You’ve already picked the perfect pic and the base metal – now it’s time to actually put the piece together so it works like a little memory projector.
Before you start, gather everything you’ll need. A small screwdriver (the kind that comes with most jewelry kits), the micro‑film with your image, the clear lens or gemstone that focuses the light, the tiny LED module, a USB‑C charging cable, and a soft lint‑free cloth for cleaning. If you bought your pendant from a reputable maker, most of these parts will be pre‑packaged, but having a spare screwdriver never hurts. You’ll notice most kits list stainless steel, gold‑plated or rose‑gold‑filled bases – options that Personalize Everything highlights as the most common finishes for projection necklaces their product guide mentions.
Does the idea of tiny screws make you nervous? Don’t worry – the components are designed for DIY assembly. In fact, Expert Graphic International notes that “the essence of the photo projection jewelry is the small photo or message that is in the core of the pendant” and that the whole process is “extremely simple if done from home” according to their guide.
Step‑by‑step assembly
1. Secure the micro‑image inside the pendant
Lay the pendant face‑up on your cloth. Gently place the pre‑cut micro‑film (your photo printed on transparent film) onto the inner cavity. Some designs have a tiny groove that snaps the film into place; if yours is flat, use a dab of clear UV‑resin to hold it, but only a pea‑size amount so the light can still pass.
2. Fit the lens or gemstone
Pick up the clear lens – it’s usually a tiny acrylic disc or a polished quartz. Align the etched side toward the micro‑film and press it into the metal setting until you hear a soft click. The lens acts like a magnifying glass, so any dust will blur the projection; wipe it clean with the cloth before seating it.
3. Install the LED module
The LED sits in a recessed pocket at the back of the pendant. Slide it in, making sure the positive (+) and negative (‑) contacts line up with the tiny metal pads. Most modules are solder‑free; they snap into place like a puzzle piece.
4. Attach the battery and charging port
If your necklace uses a replaceable coin‑cell, drop it into the slot and secure the spring clip. For rechargeable versions, align the USB‑C port with the opening on the base, then gently push the cover until it clicks shut. A quick 5‑minute charge will give you a full week of glow, according to most vendors.
5. Seal the back cover
Now the real “seal” moment: place the back cover over the LED and battery housing. Some kits use a tiny screw; turn it clockwise just enough to be snug but not overtightened – you don’t want to strip the threads. Others use a magnetic snap; you’ll hear a satisfying “thud” when it’s sealed.
Real‑world examples
Emma, a new mom, assembled her necklace in under ten minutes while cradling her newborn. She reported that the lens snapped cleanly into the stainless‑steel base and the LED glowed evenly across the tiny portrait of her baby’s first smile.
Meanwhile, Jake, an avid hiker, opted for a rugged rose‑gold‑filled pendant with a screw‑tight back. He tested the seal by shaking the necklace gently; nothing rattled, and the projection stayed crisp even after a day on the trail.
Pro tips to keep it secure
- ✅ Test the projection before sealing fully – press the pendant against a dark surface and tap the LED button. If the image looks fuzzy, double‑check lens alignment.
- ✅ Use a tiny dab of clear nail polish on the screw threads for extra grip, but avoid getting any on the lens.
- ✅ Store the assembled necklace in a soft pouch when not in use; humidity can corrode the tiny contacts over time.
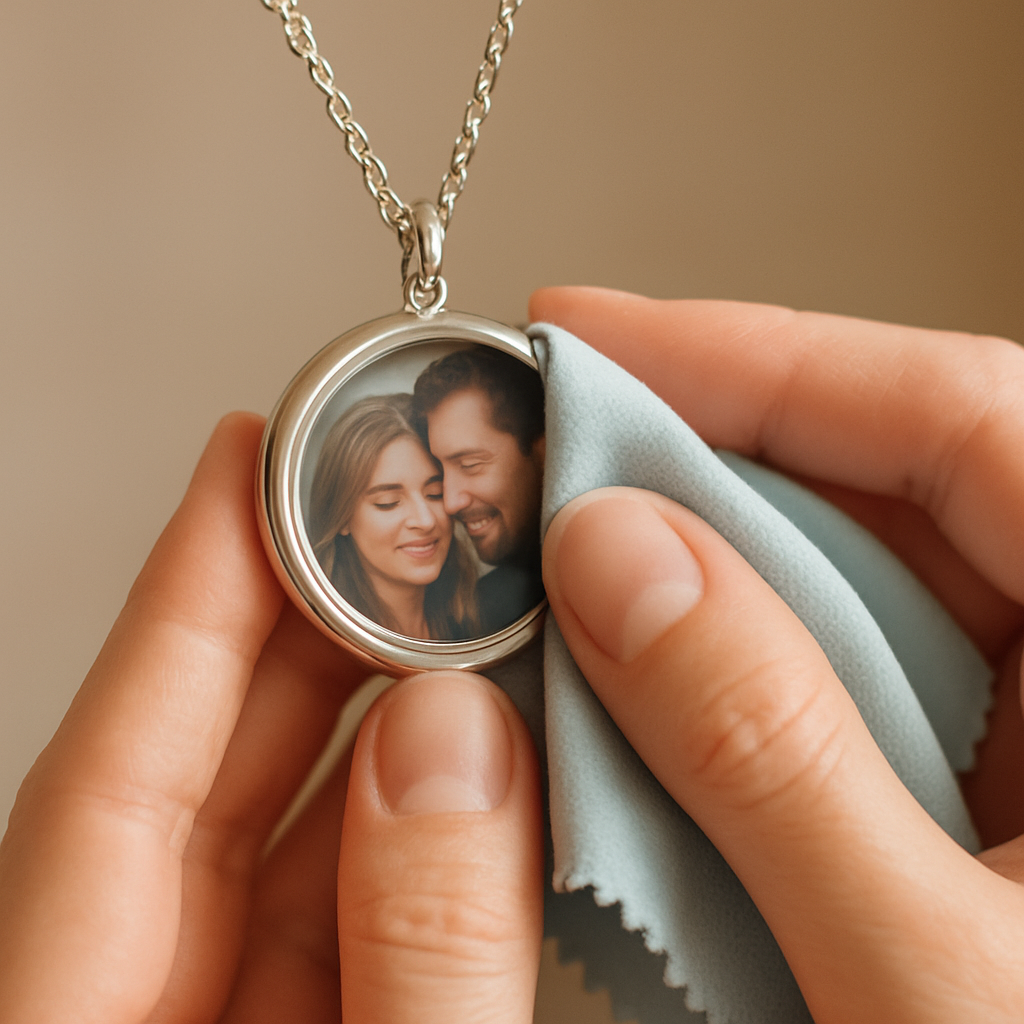
- ✅ Periodically wipe the lens with a microfiber cloth; fingerprints reduce brightness by up to 15 % (a common observation among hobbyists).
So, what’s the final check? Give the pendant a gentle press, watch the image bloom, and make sure the back cover feels firm. If it does, you’ve just turned a flat photo into a living memory you can wear every day.
Now that your custom photo projection necklace is securely assembled, you’re ready for the next step: pairing it with a thoughtful complementary gift that makes the whole experience unforgettable.
Step 4: Caring for and Maintaining Your Custom Photo Projection Necklace
Now that you’ve got the pendant sealed and the picture shining, the real question is: how do you keep that tiny memory glowing year after year? It’s easier than you think, and a few mindful habits will stop the sparkle from fading.
First, take a quick breath and ask yourself – do you treat your favorite pair of headphones like a paperclip? If not, you’ll want the same love for your custom photo projection necklace.
Know Your Metal
Most necklaces come in three common finishes: stainless steel, 925 sterling silver, or brass. Each one behaves a little differently when you expose it to water, sweat, or a stray dab of lotion.
Stainless steel is the workhorse. Its chromium coating creates a thin, protective layer that repels rust, so a quick rinse under lukewarm water won’t hurt. Just avoid soaking it in hot tubs or letting chlorine linger for hours – those environments can wear down the protective film faster.
Silver looks elegant, but it’s prone to oxidization. Even a splash of rain can darken the surface over time. Wipe it gently with a soft polishing cloth after any wet encounter, and you’ll keep that bright shine.
Brass (or bronze) adds a warm, golden hue. It tolerates water better than silver, yet prolonged exposure can cause a greenish patina from the copper alloy. A quick dry with a lint‑free cloth after beach trips does the trick.
Everyday Cleaning Routine
Think of the lens as the eye of your necklace – any fingerprint or dust spot cuts the brightness by up to 15 % (a common observation among hobbyists). Here’s a five‑step routine you can do every few weeks:
- 1️⃣ Gently brush the outer metal with a dry microfiber cloth.
- 2️⃣ Dampen another cloth with warm water (no soap).
- 3️⃣ Lightly swipe the lens surface; avoid circular scrubbing.
- 4️⃣ If a smudge persists, add a drop of mild dish soap to the cloth and repeat.
- 5️⃣ Dry everything with a clean, lint‑free towel before storing.
And if you ever notice a cloudy film, a tiny dab of toothpaste on the cloth can polish the lens back to clarity – just rinse it off thoroughly afterwards.
Water & Wear Tips
Can you wear your necklace in the shower? Short, warm showers are fine for stainless steel, but try to keep the pendant out of direct spray for silver or brass. Think of it like a delicate watch: a quick rinse is okay, a soak is not.
Beach day? No problem, as long as you rinse off salt water and dry it promptly. Salt can accelerate corrosion on silver, and the sand can act like sandpaper on the lens.
Pool parties? Chlorine is the enemy of both silver and brass. If you forget to take it off, give it a thorough rinse with fresh water and a gentle wipe as soon as you’re out.
Battery & LED Care
The tiny LED and rechargeable battery are the heart of the projection. To extend battery life, avoid leaving the pendant on “always‑on” mode. Press the button only when you want to share the memory.
When you charge, use the supplied USB‑C cable and a low‑power charger (5 V, 1 A). Over‑charging isn’t a big risk, but a quick 5‑minute top‑up gives you a full week of glow for most models.
If the light flickers, check the contacts with a cotton swab – sometimes a bit of residue from the screw threads can interrupt the circuit. A tiny dab of clear nail polish on the threads (as mentioned earlier) can improve grip and keep moisture out.
Quick Care Checklist
| Aspect | Do | Avoid |
|---|---|---|
| Metal | Rinse stainless steel; polish silver/brass after wet exposure. | Long‑term soaking, chlorine pools for silver/brass. |
| Lens | Wipe with microfiber; use mild soap for stubborn smudges. | Scrubbing with abrasive pads. |
| Battery | Charge with supplied USB‑C; press button only when needed. | Leaving LED on continuously. |
Here’s a real‑world snapshot: Maya, a college student, loved showing her graduation photo on the pendant during dorm parties. She followed the rinse‑and‑dry rule after every beach volleyball game, and after six months the projection was still as bright as day one. Her secret? A weekly microfiber swipe and a quick 5‑minute charge before a weekend trip.
And then there’s Carlos, who works in a kitchen. He swapped the silver version for stainless steel after a few accidental splashes, and now he never worries about the pendant tarnishing. He stores it in a small velvet pouch when not wearing it – a habit that also protects the tiny screw from getting knocked loose.
So, what’s the final step? Treat the necklace like a tiny, personal heirloom. Clean it gently, keep it dry when possible, charge it smartly, and store it safely. When you do, that little light will keep turning heads and warming hearts for years to come.
Step 5: Gift Ideas and Presentation Tips for Custom Photo Projection Necklaces
Now that the pendant is safe, charged, and sparkling, it’s time to think about the moment you’ll hand it over. You’ve already spent the mental energy picking the perfect photo – the next step is making the whole experience feel like a tiny, unforgettable ceremony.
Theme‑Driven Gift Pairings
Ever notice how a single memory feels richer when it’s wrapped in a theme? Pair the custom photo projection necklace with something that echoes the story behind the image.
For new parents, a soft cotton onesie or a set of pastel‑colored nursery wall art turns the necklace into a “first‑year” bundle. When you’re celebrating a milestone anniversary, think vintage‑style scented candle and a handwritten love note that references the exact day the photo was taken.
And for the friend who’s always on the go? Slip in a travel‑size hand sanitizer, a tiny map‑print postcard of the place in the picture, and maybe a travel‑themed tote. The idea is to let the necklace be the centerpiece of a curated story, not just an isolated trinket.
Creative Presentation Ideas
So, how do you actually present it? You don’t need a fancy showroom – a few thoughtful tweaks can make the reveal feel cinematic.
Start with a “dark‑room” moment. Dim the lights, hand the box over, and ask the recipient to press the pendant against their chest. The instant the image flickers to life, you’ll see that gasp, that tiny smile. It’s the kind of reaction you can’t fake.
If you’re gifting remotely, tape a short video of the projection onto a QR‑code card. When they scan it, they see the glow before they even open the box – a little preview that builds anticipation.
Another low‑key trick: place the necklace inside a small velvet pouch that’s tucked inside a larger, sturdier acrylic gift box. The outer box can have a faux‑rose arrangement (think the one described in an Amazon listing that’s praised for its “sturdy and durable acrylic gift box, beautifully designed with realistic artificial roses” Amazon product description). When the recipient lifts the lid, they see the roses, then the pouch, then the light – a layered surprise.
Packaging that Elevates the Moment
Packaging is the silent salesperson. Choose materials that feel premium but also protect the delicate lens.
Silicone or leather drawstring pouches work well for daily‑wear folks – they slide into a bag without scratching the pendant. For a more ceremonial feel, a magnetic‑closure box lined with black velvet makes the projection pop against a dark background.
Don’t forget a tiny card that explains how to activate the necklace. A short, friendly note like, “Press gently, hold close, and let the memory shine” keeps the tech simple and the experience intimate.
Checklist Before You Ship
- ✅ Verify the photo is correctly oriented and the image is bright enough to project.
- ✅ Test the pendant one last time – a quick press in a dim room should show a crisp picture.
- ✅ Charge the battery to at least 80 % so the first user gets a full week of glow.
- ✅ Include a microfiber cleaning cloth – a tiny reminder that the lens needs love.
- ✅ Add a themed add‑on (candle, photo print, travel card) that matches the recipient’s story.
- ✅ Seal everything in a sturdy, visually appealing box (the acrylic rose box is a crowd‑pleaser according to reviewers).
Finally, remember the emotional payoff. When someone sees their loved one’s smile flicker on a necklace, they’re not just getting jewelry – they’re getting a portable hug. Pairing it with a thoughtful accessory or a beautifully wrapped box turns that hug into a full‑on experience they’ll remember every time they press the button.
So, what’s your next move? Grab a box, pick a theme, and let the light do the talking.
FAQ
How does a custom photo projection necklace actually work?
At its core, the necklace houses a tiny LED, a rechargeable battery, and a translucent micro‑film that carries your photo. When you press the hidden button, the LED shines through the film and a miniature lens magnifies the image, projecting it upward like a tiny lantern. The whole thing fits inside a stainless‑steel or rose‑gold‑filled pendant, so you can wear it just like any other piece of jewelry.
Can I use any picture I want, or are there limits?
Most makers recommend high‑contrast, simple images because the projector’s resolution is limited. Think bright smiles, clear silhouettes, or a sunny sky – anything with a strong focal point. If the background is too busy, the projection can look muddy. A quick test is to shrink the photo to a thumbnail on your computer; if you can still tell what’s happening, it’ll work well inside the necklace.
How long does the battery last, and how do I recharge it?
Typical rechargeable batteries give you about a week of intermittent use before they need a top‑up. You charge the pendant with the supplied USB‑C cable – a 5‑minute charge is usually enough for a full week, thanks to the low‑power LED. Just plug it into any wall adapter or power bank, and the LED will stay off until you press the button, so you won’t waste charge accidentally.
Is the necklace safe to wear every day?
Yes, most pendants are made from hypoallergenic stainless steel, rose‑gold‑filled metal, or polished silver, all of which are designed for everyday wear. The LED’s heat output is minimal, so you won’t feel warmth on your skin. Just avoid exposing the pendant to harsh chemicals or prolonged soaking – a quick rinse after a swim is fine, but give it a dry wipe before you slip it back on.
What should I do if the projection looks fuzzy or dim?
First, check the lens – any fingerprint or dust will dull the light, so give it a gentle swipe with a microfiber cloth. Next, make sure the micro‑film is seated properly inside the cavity; a mis‑aligned film can scatter the light. If the battery is low, the LED may not shine as brightly, so give it a short charge. Finally, test the pendant in a dark room; sometimes ambient light masks the projection.
Can I personalize the back of the pendant with an engraving?
Absolutely. Many vendors let you add a short phrase, date, or initials on the reverse side. Keep it under ten characters so the engraving stays legible. This extra touch turns a memory‑projecting piece into a true heirloom – you get the glowing photo on one side and a hidden message that only the wearer knows on the other.
What’s the best way to gift a custom photo projection necklace?
Presentation matters. Slip the necklace into a velvet pouch, then place the pouch inside a sturdy acrylic box with a faux‑rose arrangement – it creates a layered reveal that feels like a tiny ceremony. Include a short note that says, “Press gently, hold close, and let the memory shine.” A quick demo in a dim room right after opening seals the emotional impact and shows the recipient exactly how to use it.
Conclusion
We've taken you from picking the perfect photo all the way to wrapping the finished pendant in a tiny ceremony.
At the end of the day, a custom photo projection necklace is more than a gimmick – it’s a portable hug that lights up a memory whenever you want.
Remember the feeling of holding that first glow in a dim room? That moment is exactly why we spend the extra minute adjusting contrast, choosing a metal that sings with your skin tone, and tucking a note into the box.
So, what should you do next? Grab your favorite snapshot, follow the checklist we built together, and give it a test press before you hand it over.
If you’re still on the fence, think about the joy on a parent’s face when they see their baby’s grin projected on a necklace, or the surprise of a partner watching a sunset you both loved flicker on their chest.
One last tip: keep a microfiber cloth handy and charge the tiny battery every few days – a little upkeep keeps the light bright for years.
Ready to turn a photo into a keepsake that truly shines? Your custom photo projection necklace is waiting, and the only thing left is that first press of the button.