
Best Resolution for Canvas Prints: A Friendly How‑To Guide
Ever stared at a gorgeous photo on your phone and imagined it hanging on the living‑room wall, only to wonder if it’ll look fuzzy on canvas?
That moment of doubt is super common, especially when you’re picking the best resolution for canvas prints. If the pixels are too low, the artwork can end up looking like a blurry postcard instead of a piece you’re proud to show off.
So, how do we make sure your custom canvas looks sharp, vibrant, and museum‑ready? The short answer: aim for at least 150 DPI at the final printed size, but there’s a bit more nuance behind that number.
Think about it this way: a 20 × 30 inch canvas needs roughly 3000 × 4500 pixels. That’s a lot of detail, and most modern smartphones or DSLRs can easily hit that mark when you shoot in high‑resolution mode. If you’re working from an older file, you might need to upscale carefully – but don’t expect miracles; the quality will never beat a native‑high‑res source.
In our experience, parents who want a family portrait on canvas often start with a 12‑megapixel photo. That gives them a comfortable buffer, even if they decide to go larger later. Spouses gifting a memorable vacation snap also benefit from shooting at the highest setting, because the extra pixels protect against pixelation when you enlarge to a statement piece.
Here’s a quick mental checklist: check the image dimensions in pixels, divide by the intended canvas size in inches, and see if you land around 150 DPI or higher. If you’re below that, consider a smaller canvas or a higher‑resolution source.
And don’t forget the viewing distance – a canvas you’ll admire from across the room can tolerate a slightly lower DPI than one you’ll stand right up to. That’s why a 40 × 60 inch piece viewed from a few feet away can still look crisp at 100 DPI.
Bottom line: the best resolution for canvas prints is all about matching pixel count to size and viewing habits. Grab the highest‑quality file you can, double‑check the DPI math, and you’ll end up with a canvas that feels like it was made just for your home.
TL;DR
Make your canvas pop by targeting at least 150 DPI at the final size, which means a 20 × 30‑inch print needs roughly 3000 × 4500 pixels from your camera today.
That DPI check is the best resolution for canvas prints shortcut, so parents, spouses, and gift‑buyers can confidently pick the right file before ordering.
Step 1: Measure Your Canvas Size and Desired Viewing Distance
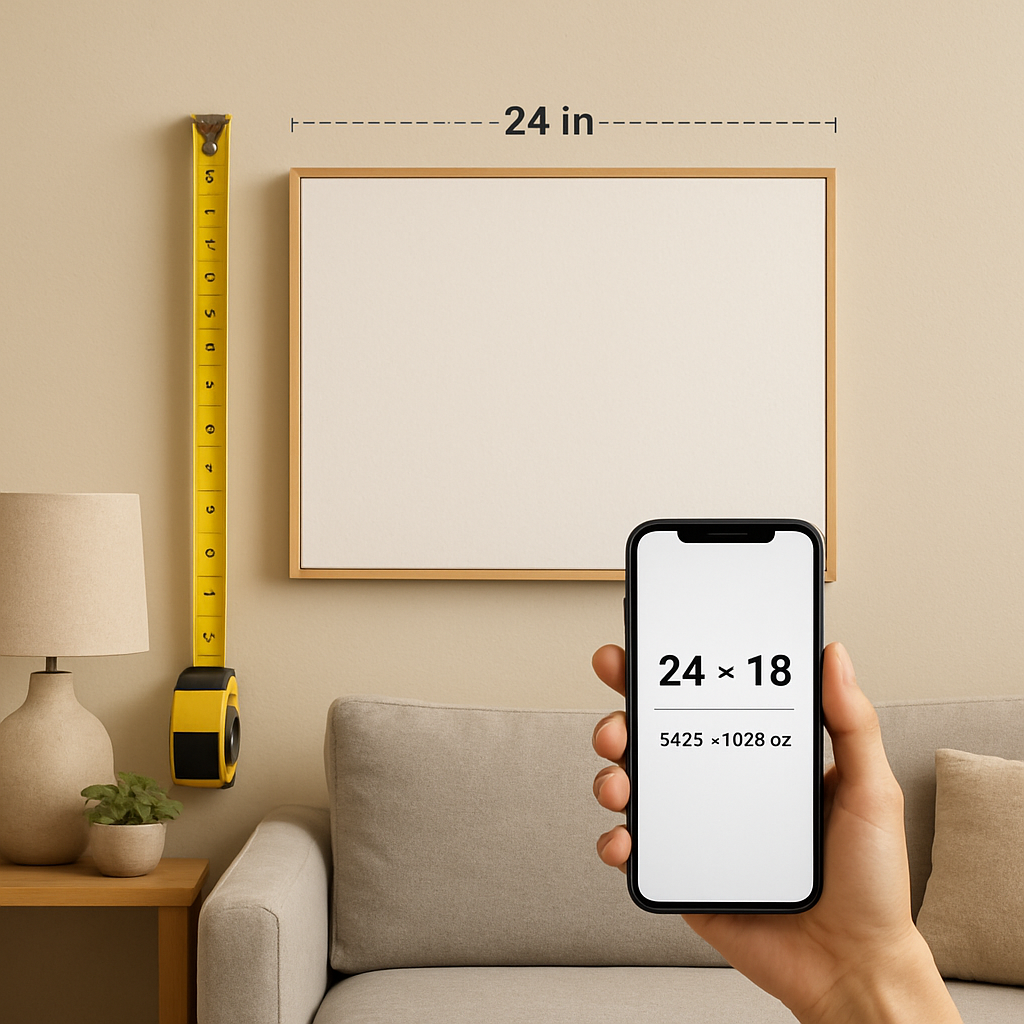
Before you worry about pixels, take a step back and actually measure the wall space. Grab a tape measure, note the width and height in inches, and think about how close you’ll stand when you admire the piece. That distance is the secret sauce that tells you whether 150 DPI is a hard rule or a friendly guideline.
Here’s a quick mental trick: if you’ll be looking at the canvas from about 3‑4 feet away – the typical sofa‑to‑wall distance in a living‑room – you can get away with a slightly lower DPI because your eyes blend the pixels together. But if the canvas will hang above a mantel where you’ll be nose‑to‑canvas, aim for that crisp 150 DPI or higher.
Want a concrete example? Imagine a 24 × 36‑inch canvas that will be the focal point above a family photo shelf. At a viewing distance of 2 feet, you’ll need roughly 3600 × 5400 pixels to keep the image sharp. That’s a 12‑megapixel file – something most modern smartphones can deliver if you shoot in “largest size” mode.
And if you’re a parent planning a family‑tree canvas, you might be tempted to squeeze a whole genealogy into a single print. In that case, measure the wall, decide the optimal viewing distance, then calculate the pixel budget for each branch. It’s easier than it sounds, especially when you break the canvas into sections in your editing software.
So, how do you turn those inches into a pixel count? Grab your image, open its properties, and divide the pixel dimensions by the canvas size in inches. The result is your DPI. If the number is below 150 DPI and you’re planning a close‑up view, you either need a larger source file or a smaller canvas.
Sometimes the answer is simply to downsize the canvas. A 20 × 30‑inch print that looks a bit soft at 120 DPI from a coffee‑table height might look perfect at 16 × 24 inches, especially if it’s meant to be seen from across the room.
Need inspiration for how different sizes affect the feel of a room? Check out A Friendly Guide to Choosing and Displaying Square Canvas Prints – it walks you through layout ideas that keep proportions looking natural.
When you’ve settled on size, double‑check the viewing distance by standing where the canvas will live. If you can comfortably read a book on the couch while glancing at the art, you’re probably in the right ballpark.
Here’s a handy checklist you can copy‑paste into a note:
- Measure wall width and height in inches.
- Decide primary viewing distance (close, medium, far).
- Calculate required pixel dimensions (DPI × inches).
- Verify your source file meets or exceeds those pixels.
- Adjust canvas size or source file as needed.
And remember, resolution isn’t the only factor – colour profile, compression, and print material all play roles. Still, nailing the size‑and‑distance math is the first step toward a gallery‑ready result.
For a little extra visual inspiration, you might browse Gratitude Studios – they showcase original landscape art that demonstrates how detail holds up at various viewing distances.
While you watch, think about the distance you’ll be from your own canvas. The video walks through a live example of measuring a wall and picking the right image size.
If you’re an artist or hobbyist who likes to understand how detail translates from sketch to print, the pencil hardness chart guide offers a surprisingly relevant analogy – harder pencils capture finer lines, just like higher‑resolution files capture more detail for your canvas.
Now that you’ve got the numbers, the next step is all about preparing the file – cropping, colour correcting, and making sure the composition works at the final size. But that’s a story for the next section.
Step 2: Calculate the Ideal DPI (Dots Per Inch) for Your Print
Alright, now that you’ve got your canvas dimensions and viewing distance nailed down, it’s time to turn those numbers into a DPI target.
The basic formula is simple: DPI = Pixels ÷ Inches. In practice you’ll take the width in inches, multiply by the DPI you want, and that tells you how many pixels you need across the short side.
Let’s break it down step‑by‑step so you can see the math without pulling out a calculator.
Step‑by‑step DPI calculator
1️⃣ Start with your chosen DPI. Most home‑gallery pieces look crisp at 150 DPI when you’ll be standing a foot or two away. If the canvas is huge and will be viewed from across the room, 100 DPI often suffices.
2️⃣ Multiply the canvas width (in inches) by that DPI. That gives you the minimum pixel width you need.
3️⃣ Do the same for the height. The larger of the two pixel counts is the one you’ll check against your source file.
Does that feel like a lot of math? Not really – it’s just a couple of quick multiplications.
Example: a 20 × 30‑inch canvas at 150 DPI needs 20 × 150 = 3,000 px wide and 30 × 150 = 4,500 px tall. If your photo is 4,000 × 5,500 px, you’re safely above the threshold.
Example: a 36 × 60‑inch piece viewed from a few feet away can get away with 100 DPI. That works out to 3,600 px × 6,000 px. A 24‑MP DSLR (≈6,000 × 9,000 px) gives you plenty of headroom.
Open your file in Photoshop, GIMP, or even the file‑properties window and check the pixel dimensions. Compare the larger of those numbers to the pixel count you just calculated. If you’re equal to or higher than the target, you’re good to go.
If you’re a handful of pixels short, you have three realistic options: shrink the canvas size, find a higher‑resolution source, or use a professional up‑sampling service that preserves edge detail.
There are free online DPI calculators that will do the multiplication for you – just type in the inches and the DPI you want, and the tool spits out the exact pixel requirement.
If you prefer watching a quick walkthrough, check out this short video that shows the whole process in real time.
Notice how the presenter clicks the image size dialog and instantly sees whether the file meets the 150 DPI rule. It’s the same trick you can apply in any editor.
Remember, the farther you stand, the lower DPI you can comfortably use. A canvas viewed from six feet away can look perfectly sharp at 80–100 DPI, while a piece that lives above a nursery crib – where you’ll be just a foot away – really benefits from the full 150 DPI.
For parents printing a newborn portrait, aim for that 150 DPI sweet spot because you’ll be right up close, and every tiny hair matters. For spouses sending a beach panorama to a living‑room wall, 100 DPI is usually enough, especially if the viewing distance is several feet.
Quick cheat‑sheet:
• Desired DPI → 150 for close‑up, 100 for distance
• Multiply canvas width (in) × DPI = minimum pixel width
• Multiply canvas height (in) × DPI = minimum pixel height
• Verify your source file meets or exceeds the larger of those two numbers.
Once you’ve confirmed the pixel count, you can move on to evaluating image quality and deciding whether any up‑scaling is required.
Step 3: Choose the Right Image File Format and Color Profile
Now that you’ve nailed the DPI, the next piece of the puzzle is making sure the file itself won’t sabotage the “best resolution for canvas prints” you just calculated.
Which file format really matters?
If you’ve ever opened a JPEG and noticed a soft halo around a high‑contrast edge, you’ve seen the compression artifacts in action.
JPEG is great for everyday photos because it keeps file sizes tiny, but the lossy compression can erase the fine grain that a canvas stretch needs.
For most of our customers – parents preserving a baby’s smile or spouses gifting a beach sunset – we recommend saving the master file as a PNG or TIFF.
Both formats store every pixel without the nasty “blocky” compression you get in a low‑quality JPEG.
PNG is web‑friendly and supports 8‑bit color, which is plenty for most prints.
TIFF, on the other hand, can hold 16‑bit depth and even layers, making it the gold standard for professional‑grade canvas work.
What about WebP? It’s a newer format that promises JPEG‑size files with better quality, but not every print‑on‑demand service can read it yet.
Until you’re sure your provider supports it, stick with PNG or TIFF to stay safe.
And don’t forget to keep a copy of the original RAW file if you shot in RAW.
Choosing a color profile that won’t betray your colors
Ever printed a photo that looked perfect on your laptop but turned out washed out on the canvas? That’s usually a color‑profile mismatch.
Most cameras and phones capture images in sRGB, which is the standard for screens.
sRGB is fine for small prints, but when you’re pushing a canvas to 150 DPI, a wider gamut can make a noticeable difference.
If you have the option, export your file in Adobe RGB (or even ProPhoto RGB if your editing software supports it).
These profiles contain a larger color space, so the subtle blues in a sky or the soft pinks of a newborn’s blanket stay vibrant after printing.
Here’s a quick rule of thumb: if your editor lets you embed the profile, do it.
Most print‑on‑demand pipelines will convert everything to the printer’s working space, but they’ll do a better job when they start with a richer profile.
Just make sure you don’t accidentally convert the file to “Windows Color System” or “CMYK” unless the printer explicitly asks for it.
One thing we see often with gift‑buyers is that they upload a file straight from their phone, which defaults to sRGB and sometimes strips the embedded profile entirely.
A simple step in Photoshop, GIMP, or even a free online converter can re‑embed Adobe RGB before you hit “upload”.
Quick checklist before you hit “order”
- Save the master as PNG (8‑bit) or TIFF (16‑bit) – avoid low‑quality JPEGs.
- Keep the original RAW file handy for future edits.
- Embed a wide‑gamut profile like Adobe RGB or ProPhoto RGB.
- Verify the file size meets the printer’s minimum – most services accept files up to 150 MB.
- Do a quick “zoom‑to‑100 %” check in your editor; the image should look crisp, not pixelated.
By locking in the right format and color profile, you give the printer the cleanest, most detailed source possible.
That means the canvas you hang on the wall will truly reflect the best resolution for canvas prints you calculated earlier – no surprise color shifts, no unexpected blur.
So, ready to export? Grab that PNG or TIFF, embed Adobe RGB, and let heartful.gifts handle the rest.
Step 4: Upscale or Downscale Your Image Without Losing Quality
Okay, you’ve double‑checked the DPI, you’ve locked in the right color profile, and now you’re staring at a file that’s a little too small for the canvas size you’ve dreamed up. Don’t panic – you can either up‑scale or down‑scale without turning your cherished photo into a pixelated mess.
Why resizing matters for the best resolution for canvas prints
When you stretch a 2000 × 3000 px image to fill a 30 × 45 inch canvas, you’re asking the software to create new pixels that simply don’t exist. That’s where smart up‑scaling tools shine: they predict detail, smooth edges, and keep faces looking human.
Conversely, if your source is huge – say a 12 000 × 18 000 px RAW from a DSLR – you’ll want to shrink it a bit so the file stays manageable and the printer’s software doesn’t waste time processing unnecessary data.
Step‑by‑step: Upscaling without losing quality
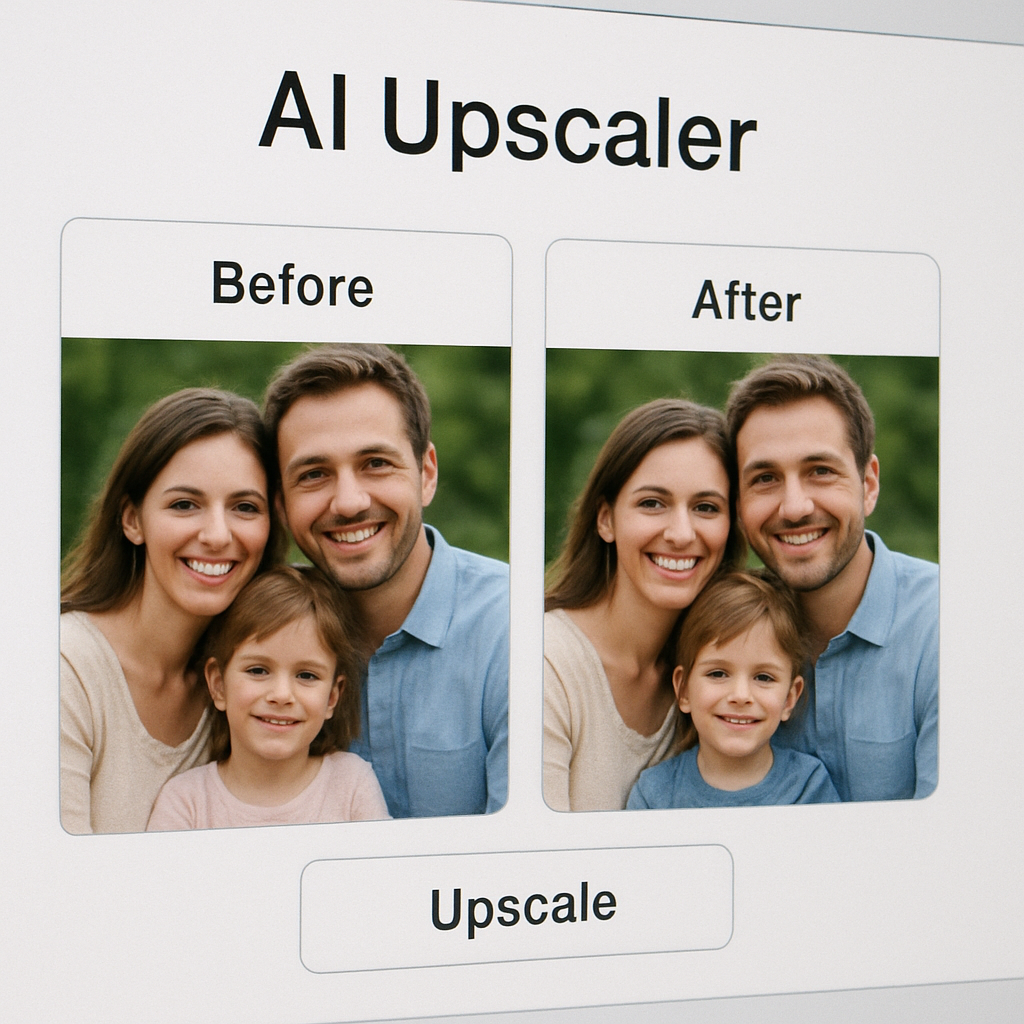
1️⃣ Choose an AI‑powered upscaler. Classic Photoshop “Image Size” with “Preserve Details 2.0” works, but AI tools often give a cleaner result. In a recent Microsoft Tech Community thread, users recommended several options for old family photos, noting that the best results come from tools that respect facial features while smoothing pixel edges.read the discussion.
2️⃣ Set the target dimensions. Aim for the pixel count you calculated in Step 2 (e.g., 3000 × 4500 px for a 20 × 30‑inch canvas at 150 DPI). Most upscalers let you type the exact width or a percentage – enter the numbers and let the algorithm do the heavy lifting.
3️⃣ Check the preview. Before you commit, zoom in to 100 % and look at skin tones, text, or fine lines. If something looks overly soft, dial the “sharpness” or “detail” slider back a notch.
4️⃣ Export as PNG or TIFF. Keep the file lossless; a new JPEG will re‑introduce compression artifacts you just fought hard to avoid.
Step‑by‑step: Downscaling without losing sharpness
1️⃣ Open the image in your editor. Photoshop, GIMP, or even free tools like IrfanView handle down‑sampling gracefully.
2️⃣ Resize using “Bicubic Sharper” (Photoshop) or “Lanczos” (GIMP). These algorithms preserve edge contrast when you shrink an image, which is crucial for the crisp look we all want on canvas.
3️⃣ Apply a light “Unsharp Mask”. After the size reduction, a subtle 50 % amount with a radius of 0.5 px often restores the tiny details that get a bit muted during the resize.
4️⃣ Save a master copy. Keep the original high‑resolution file in case you later decide to go bigger – it’s your safety net.
Quick sanity check
• Does the final pixel count meet or exceed the DPI target you calculated?
• Is the file still under the printer’s maximum file‑size limit (usually 150 MB)?
• Do the edges look clean at 100 % zoom?
If you answered yes to all three, you’re good to go. If not, repeat the step with a different up‑scaler or a smaller down‑scale factor.
One last tip for gift‑buyers and parents: when you’re working with old family scans, give the AI up‑scaler a chance to “learn” the face. Some services let you upload a few reference photos so the algorithm knows how your loved one’s features usually look. It’s a tiny extra step that can make the difference between a canvas that feels authentic and one that looks like a computer‑generated avatar.
And remember, you don’t have to be a Photoshop wizard to get professional results. The right combination of a reliable up‑scaler and a careful final export will keep the best resolution for canvas prints intact, whether you’re sending a sentimental gift or decorating your own living room.
Step 5: Verify Final Resolution with a Quick Comparison Table
Alright, you’ve already sized your canvas, crunched the DPI math, and either up‑scaled or down‑scaled the image. The last sanity check is to make sure the pixel count you end up with actually satisfies the “best resolution for canvas prints” we’ve been chasing.
What to look at
First, pull up the image in any viewer that shows the pixel dimensions – Photoshop’s Image Size dialog, GIMP’s Scale Image window, or even the file‑properties pane on your computer. Write down the width and height in pixels.
Next, take the canvas width and height you measured earlier and multiply each by the target DPI (usually 150 DPI for close‑up pieces, 100 DPI for larger, room‑viewed prints). You now have two numbers: the minimum pixel width and the minimum pixel height your file needs.
If both dimensions of your file are equal to or greater than those targets, you’re golden. If one dimension falls short, you have three practical choices: trim the canvas size, run the file through an AI up‑scaler again, or accept a slightly lower DPI – but only if the viewing distance justifies it.
Quick comparison table
| Scenario | Pixel count you have | Target pixel count (based on DPI) | Next step |
|---|---|---|---|
| Exact match or higher | ≥ target width × target height | Matches or exceeds | Proceed to export – you’ve hit the best resolution for canvas prints. |
| Width OK, height a few % low | Width ≥ target, height 90‑99 % of target | Slightly under | Consider a modest up‑scale (10‑15 %) or shrink the canvas height a touch. |
| Both dimensions noticeably low | Both < 90 % of target | Well below | Use a dedicated AI up‑scaler, or pick a smaller canvas size to stay within the best resolution range. |
Having that table right next to your screen turns a vague “is it good enough?” feeling into a concrete decision.
Step‑by‑step checklist
- Open the final file and note width × height in pixels.
- Calculate target pixels: canvas (in) × desired DPI for both width and height.
- Plug the numbers into the table above.
- If you land in the green row, skip to export.
- If you’re in the amber row, try a light up‑scale or adjust canvas size by an inch or two.
- If you’re in the red row, either run a higher‑quality AI up‑scaler or rethink the final dimensions.
One trick parents love is to keep a “buffer” of 5‑10 % when they first calculate the DPI. That way the file often lands in the green zone even after a tiny crop or a modest resize for framing.
Spouses sending a holiday panorama can use the amber row as a cue: a 2‑3 % up‑scale rarely introduces visible artifacts, but it does push the file into the safe zone for the best resolution for canvas prints.
Gift buyers who are short on time might just accept a 5 % lower DPI if the canvas will hang across a living‑room wall where viewers stand several feet away. The human eye blends the pixels, and the result still looks sharp.
Final export tips
When you’ve confirmed the numbers, save the master as a lossless PNG or TIFF – never a compressed JPEG at this stage. Double‑check the file size; most print‑on‑demand services cap uploads at around 150 MB.
Zoom to 100 % in your editor one last time. If the edges look crisp and the text (if any) stays readable, you’ve nailed the best resolution for canvas prints. Now you can upload the file to heartful.gifts with confidence, knowing the canvas will arrive looking exactly as you imagined.
Pro tip: before you hit “order”, open the exported PNG in a quick‑view app and zoom to 200 % on a dark background. Any lingering halo or banding will pop out, letting you catch issues that 100 % preview might miss.
Conclusion
We've walked through everything from measuring your wall to crunching the DPI math, so you know exactly how to hit the best resolution for canvas prints without guessing.
Remember, the sweet spot is usually around 150 DPI when the canvas sits close to eye level, and you can relax to about 100 DPI for larger pieces viewed from a few feet away. Those numbers aren't rigid rules – they’re a guide that lets you balance size, distance, and file size.
When you check your source file, ask yourself: does the pixel count meet or exceed the target we calculated? If you see a shortfall, a modest AI up‑scaler or a tiny size tweak will usually save the day without visible artifacts.
And before you hit “order,” give the exported PNG a quick 200 % zoom on a dark background. Any halo or banding will pop out, letting you catch issues that a 100 % preview hides.
In our experience at heartful.gifts, parents love the confidence of knowing their newborn portrait will stay crisp, while spouses appreciate the peace of mind that a beach panorama looks great from across the room.
So, what’s the next step? Pull up your image, verify the DPI, make any needed adjustments, and then upload with confidence. Your wall‑ready canvas will arrive just as you imagined – vibrant, sharp, and perfectly sized.
Happy creating, and enjoy the moment when you see your memory come to life on canvas.
FAQ
What is the best resolution for canvas prints?
In plain terms, aim for around 150 DPI when the canvas will sit close to eye level – that translates to roughly 3,000 × 4,500 px for a 20 × 30‑inch piece. If the artwork is meant to be viewed from across the room, you can relax to about 100 DPI and still get a crisp look. Think of DPI as the “pixel density” that keeps details sharp no matter how big the print gets.
How do I calculate the pixel dimensions I need for my canvas size?
First, write down the final width and height in inches. Multiply each dimension by the DPI you’ve chosen (150 for close‑up, 100 for distance). The result gives you the minimum pixel width and height. For example, a 30 × 40‑inch canvas at 150 DPI needs 4,500 px × 6,000 px. Double‑check the larger of the two numbers against your source file.
Can I use a photo taken on my phone for a large canvas?
Most modern smartphones shoot 12 MP or more, which usually means a raw pixel count well above 4,000 px on the long side. That’s enough for a 20‑inch‑wide canvas at 150 DPI, and even a 30‑inch‑wide piece at 100 DPI. Just make sure you captured the image in the highest resolution setting and avoid heavy in‑camera cropping.
What file format should I upload to get the best resolution for canvas prints?
Save the master as a lossless PNG or a TIFF. Both keep every pixel intact, so you won’t see the blocky artifacts that a low‑quality JPEG introduces. PNG is quick and web‑friendly, while TIFF offers 16‑bit depth if you want extra color richness. Whichever you choose, embed a wide‑gamut profile like Adobe RGB for the most vibrant result.
Do I need to upscale my image if it’s a bit too small?
If you’re only a few percent short of the target pixel count, a modest AI‑powered upscaler can add the missing detail without obvious softness. Look for tools that advertise “Preserve Details” or “Neural Upscale.” After upscaling, zoom to 100 % and check edges and skin tones; a quick sharpen can restore the crispness you need for a clean canvas.
How can I verify my image meets the resolution requirements before I hit “order”?
Open the file in any image viewer that shows pixel dimensions, then divide those numbers by your canvas size to see the actual DPI. Next, set your editor’s zoom to 200 % on a dark background – any halo, banding, or blurry edge will pop out. If the DPI is at or above your target and the preview looks sharp, you’re good to go.